We have moved

Hey everyone!

We just wanted you to know that the merrellgirls blog has moved.  After much thought we have decided to move our blog to blogger.com.  We have enjoyed our time with wordpress, but with the direction that we wanted to take our blog, wordpress couldn’t offer the options that blogger could.  We are sad to say that we will miss wordpress, but we are very excited about the new changes with blogger.

Please continue to check us out and follow us on blogger.  You can find us at http://merrellgirls.blogspot.com/  Please share us with others and check out our new posts!

Thank you

-merrellgirls

Bath Towel Savers

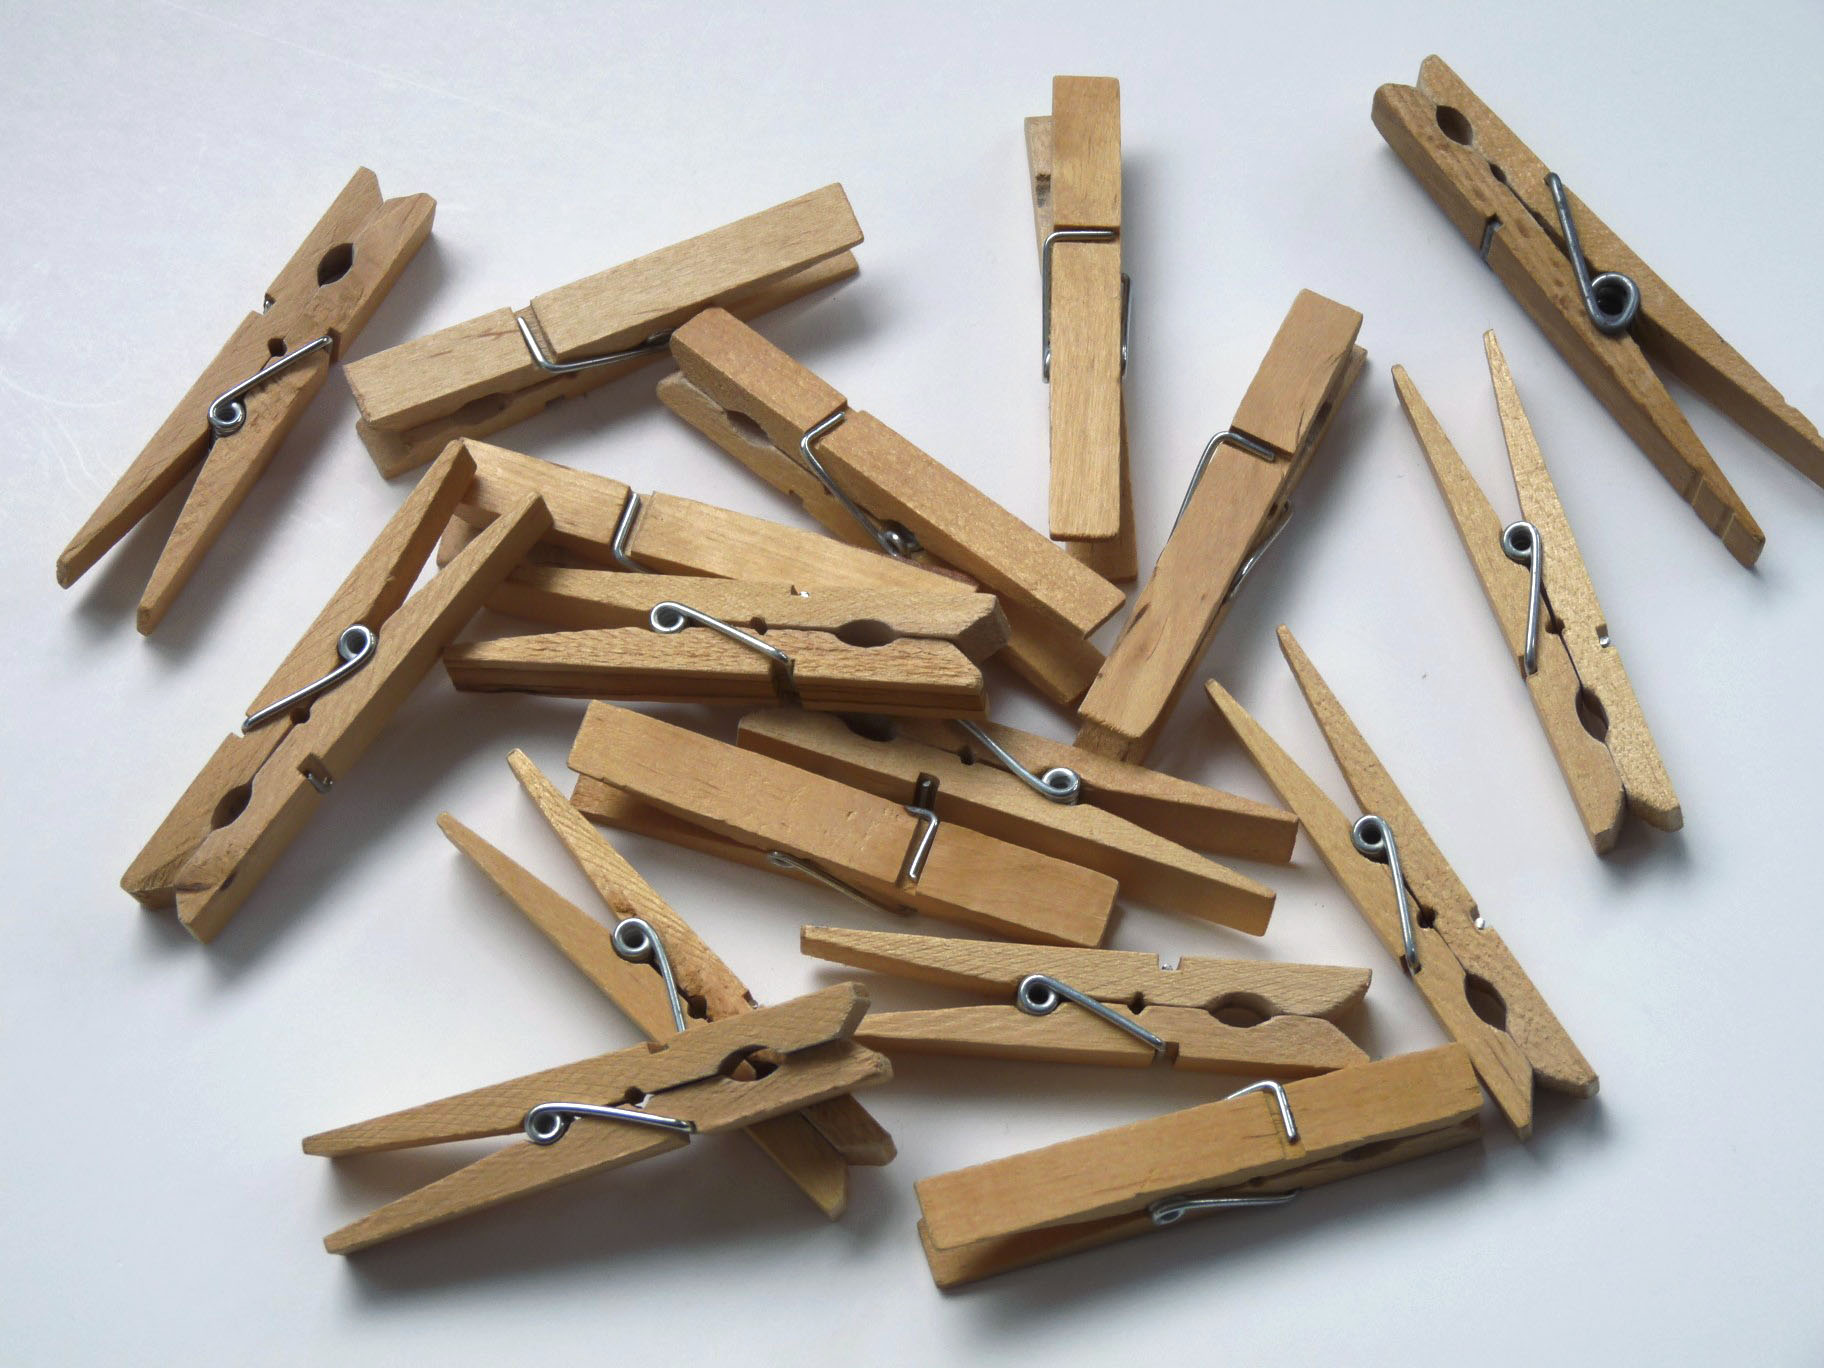
We got the Bath Towel Saver tip from our mom.  Whenever all of us kids and our families get together at our parents for a long weekend or the Holidays, there is always an over abundance of bath towels being used.  If you are like our mom or most people, you have matching guest towels.  With all those towels it can get confusing as to which towel is yours.  Our mom thought it would be helpful to have something to put on the towels that identified which towel belonged to which person.  She wanted something that would be easy to use, big enough to see, and not permanent.  That’s when she thought to use clothespins.

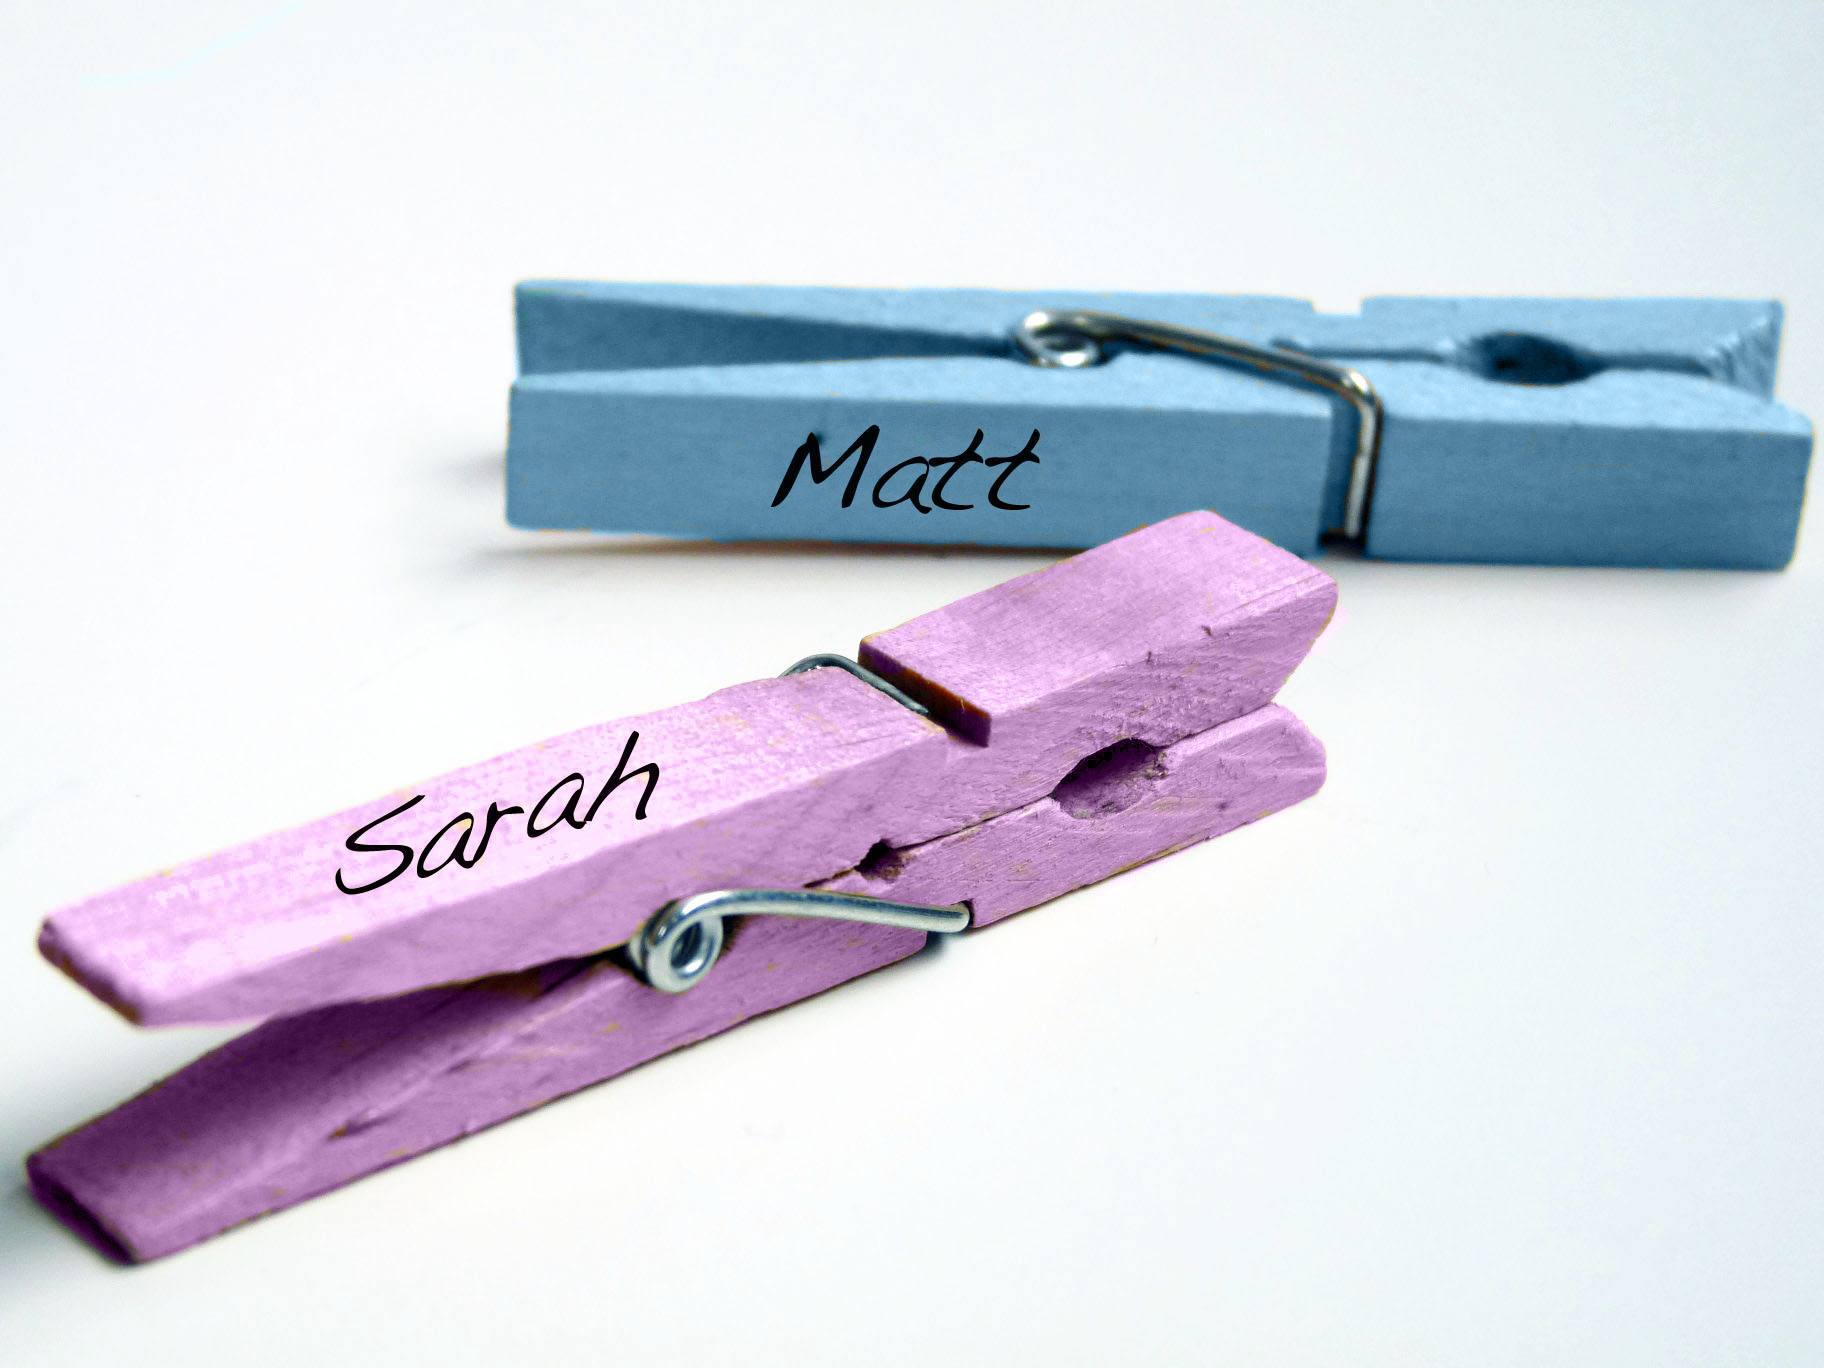
They are easy to put on and take off of the towels (even kids can do it), big enough to be seen but not too big that it screams “Look at me,” and it’s not permanently put on the towels.  This is what she did.  She took enough clothespins (one for each person in the family), painted them (each family has its own color), and wrote each persons name on the front and back of the clothespins.

Simple enough.  So now every time we come for a visit and use bath towels, we hang them to dry, find our clothespin with our name on it, and pin it on.  No more forgetting which towel is yours!  You can leave the clothespins plain with just a name on it.  Or jazz it up with some color!  The choice is yours.

The merrellgirls visit their parents quiet often in the summer (a couple of times a week) to use their pool.  After being out in the hot sun, playing with kids, and swimming you need to freshen up before heading home.  We use our clothespins to keep track of our bath towels for the week.  Can you image the laundry our mom would have to do in one week if we didn’t use the clothespin system?  It’s a good idea she thought of this!

This is perfect for guest the visit frequently and stay for long visits!  It’s also great for beach towels by the pool.  Kids are always in and out of the pool, this way they will use one towel and remember which one is theirs.  So go ahead and try the Bath Towel Savers.  All you need is clothespins, paint (optional), Sharpie marker, towels, and guests!  We hope you like the Bath Towel Savers!

– merrellgirls

Reuse your husband’s old t-shirt!

I finally got my husband to clean out his closet and dresser drawers and he accumulated quite a pile of clothes.  So before I donated them, I picked out some nice t-shirts that I wanted to add to my wardrobe.  These t-shirt were in good condition, he just didn’t wear them anymore.  All I needed to do was tailor them a little so they would fit me better!

I like to sew, but I don’t really know all the correct techniques of sewing.  I pretty much make it up as I go.  I did take 2 sewing classes in high school so I know the very basics.  I try to do things as simple and easy as I can.  So forgive me for not knowing the correct sewing techniques or terms.

This is what you need:

Big t-shirt (husband’s t-shirt)

Smaller fitted t-shirt (for tracing template)

Sewing machine

Thread (similar color as big t-shirt)

Fabric pen/marker (a washable pen/marker that is used for marking fabric to tailor clothes)

Scissors

Straight pins

Here is what I did:

This is my husband’s shirt which is too big and wide on me.  I just wanted to take it in on the sides and under the arms.


1.  Take your husband’s shirt or a big t-shirt and turn it inside out.   Lay your smaller fitted t-shirt on top of your bigger t-shirt to be used as a tracing template.  Use a fabric pen/marker to trace the outside of the smaller fitted t-shirt.  I made little dash marks along the outside of the smaller t-shirt.  I only traced the sides of the shirt and the under arms.  I left the length of the sleeve as is.

2.  After tracing the smaller t-shirt, take straight pins and pin along the trace marks.  This is to hold the t-shirt together while sewing.

3.  Next, sew a straight stitch along the trace marks (if you prefer another stitch, go for it, I just usually use a straight stitch).  Remember to back-stitch at the beginning and end of the straight stitch.  When finished sewing both sides of the t-shirt, turn it right side out and try it on.  If you like the fit, turn the shirt inside out and trim the excess fabric fairly close to the stitch you just sewed.  If you feel the shirt should be taken in some more, sew another stitch in closer to make it more fitted.  There you go, now you have a new fitted t-shirt!

Here is my new fitted t-shirt!  I kept the sleeves the original length.  But you can always hem them up to a shorter length if you like.

I hope you enjoy and get a new use out of your husband’s old and beloved shirt!

Parchment Paper

Parchment Paper…not just for baking.

I do a lot of things with Hot Glue because I love how it sticks to almost everything.  Well, one time I needed something that hot glue would not stick to.  I tried wax paper but the hot glue melted the wax and stuck right to the wax paper.  Then I tried parchment paper and that was the answer!!  You can draw with the hot glue right on the parchment paper and it will peel right off.  Now I keep a piece of parchment paper with my hot glue gun. I use it to catch the glue drips or if my gun falls over, I don’t have to worry about it sticking to anything.

Tape Tip

Here’s a tip for when you use masking tape to hang something on a wall.  This might only apply to teachers, but who knows, you may find yourself in a tape predicament and you will be thankful you read this.

I hang a lot of artwork in the halls of our school and I want them to stay up for a long time since it takes me hours to hang them.  An art teacher many years ago gave me this tip to be sure my artwork would stay put until I was ready to remove it.

Use 2” 3M masking tape (I have found that Quill brand works too…but not Staples). 

Tear a piece of tape about 8” long and roll it.

When you apply it onto the paper to be hung, make sure the over lapped part of the tape sticks to the paper and is lying as flat as possible, close to the corner or edge.  It is very important that the roll is horizontal!!!  If it is vertical, gravity will do its job and your picture will soon roll and fall off the wall!!  This can be very frustrating.

**I do not recommend this for drywall; I use it for painted cinder block walls.  I have heard that the blue painters tape works really well for drywall, I would still apply it the same way.

**Disclaimer** There is always a chance of any tape removing paint when it is taken off the wall.

-Piper

Coat Hooks For Curtain Tie Back Hooks

I made the curtains for our house.  Nothing fancy just simple straight rod pocket curtains.  I usually put the curtains on a tension rod and stick the rod inside the frame of the window.  We open the curtains daily to let in as much light as possible, so I needed curtain tie back hooks to keep the curtains open.  Curtain tie back hooks can be expensive.  A lot of the ones I looked at were too big and gaudy for what I wanted.  I wanted simple and sleek.  So I got the idea to use coat hooks.  They are basically the same thing, coat hooks are just a little smaller.

For the first 4 pictures (the brown curtains) I don’t actually tie back these curtains.  I just have the hooks hold the fabric back. It works great.  I got these hooks at IKEA a few years ago.

In the next 4 pictures, I used silver hooks that I got at Walmart.  They are much smaller than the IKEA hooks.  For these curtains, I do tie them back.  The hooks are too small to hold all of the fabric back.  I took some ribbon that matched my curtains and made a big loop, tied it in a knot, and hooked it around the coat hook.

And there you have it, an inexpensive way to get curtain tie back hooks!

Reuse Old Candles

I light candles all the time.  They smell great and I think they help warm our drafty house.  When the wicks burn out and there is still a lot of wax left in the jar I hate to throw the candles away.  So I usually use those candles for my candle warmer, they still smell great but I don’t get the extra heat.  Then I got the idea to put a new wick in my old candles.  Its a pretty simple idea, I know, I just love the fact that I get more use out of my candles.  Heres what I did:

Get an old candle (one with the wick burnt out).  Remove the old wick and silver base it is attached to.  If you cannot remove the wick and base wait until the candle is somewhat melted, it will be much easier to remove.

This candle is so full of wax because I would use this candle on my candle warmer and add wax from other candles to it.  I would take candles that sit on a candle plate and when their wick burnt out I would add it to my candle warmer candle.  If you do this make sure you take the sticker off the bottom of the candle and any remaining wick out of the candle.  Also try to use similar smelling candles.

Melt the candle on a candle warmer until the center of the candle is melted all the way through to the bottom.

Buy a candle wick at a craft store.  I got mine at Hobby Lobby but I’m sure you can purchase it at any craft store.  Take the wick and stick it into the melted candle.  I did not use another metal base to attach the wick to.  I didn’t have one and I figured just sticking the wick in would be fine.  Try to get the wick to reach the bottom of the jar.  Use a pencil or pen to wrap the wick around and balance the pencil/pen on top of the jar.  Try to place the pencil/pen so that the wick is in the center of the candle.

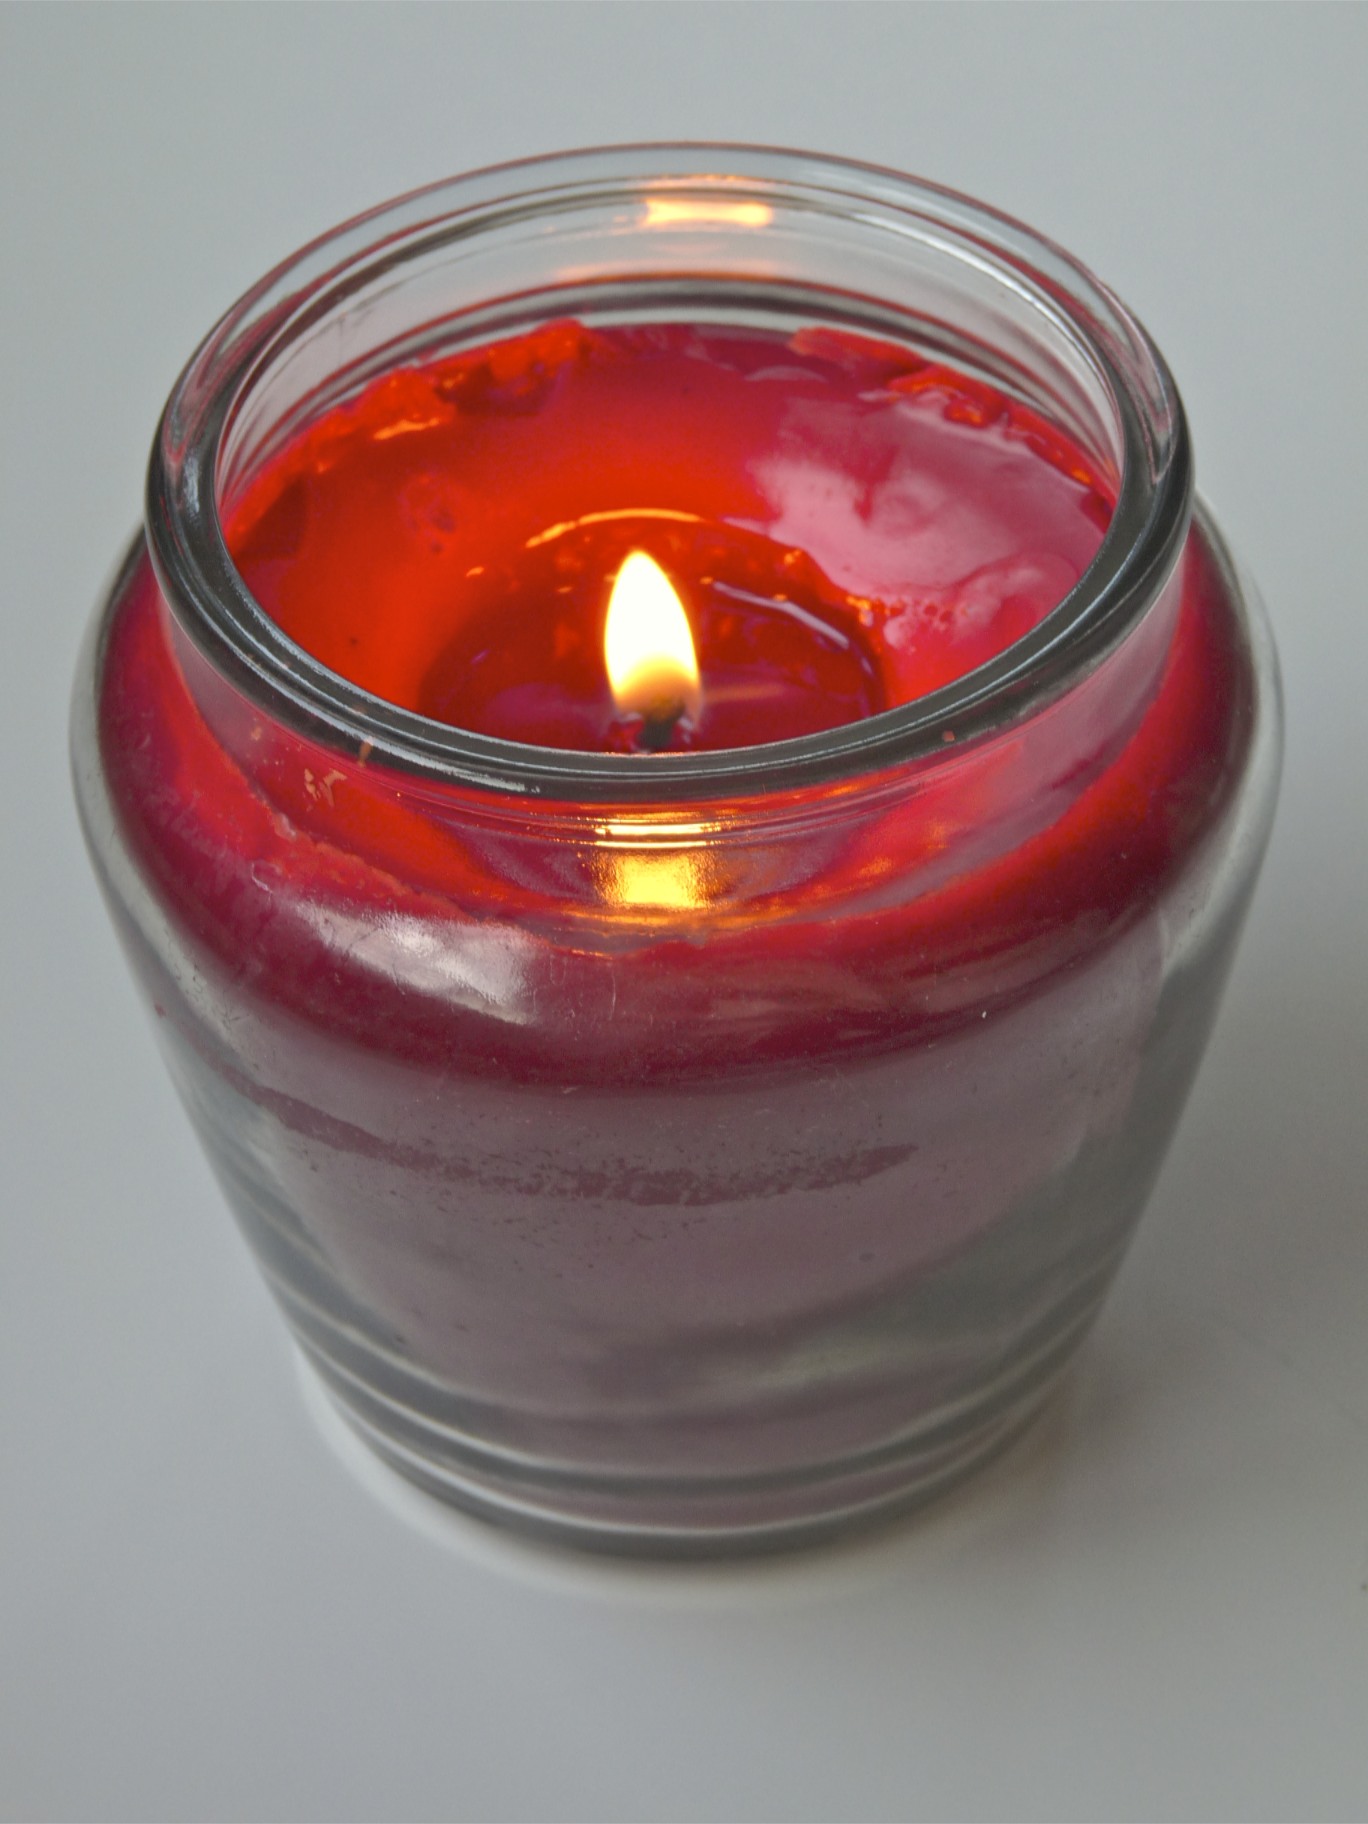
Let the candle cool.  When the candle has completely harden take a wick cutter or scissors and cut the wick to 1/4″.  Then light your candle and enjoy an extra use of your old candles!

Shoe Refashion: Two ways to refashion your shoes

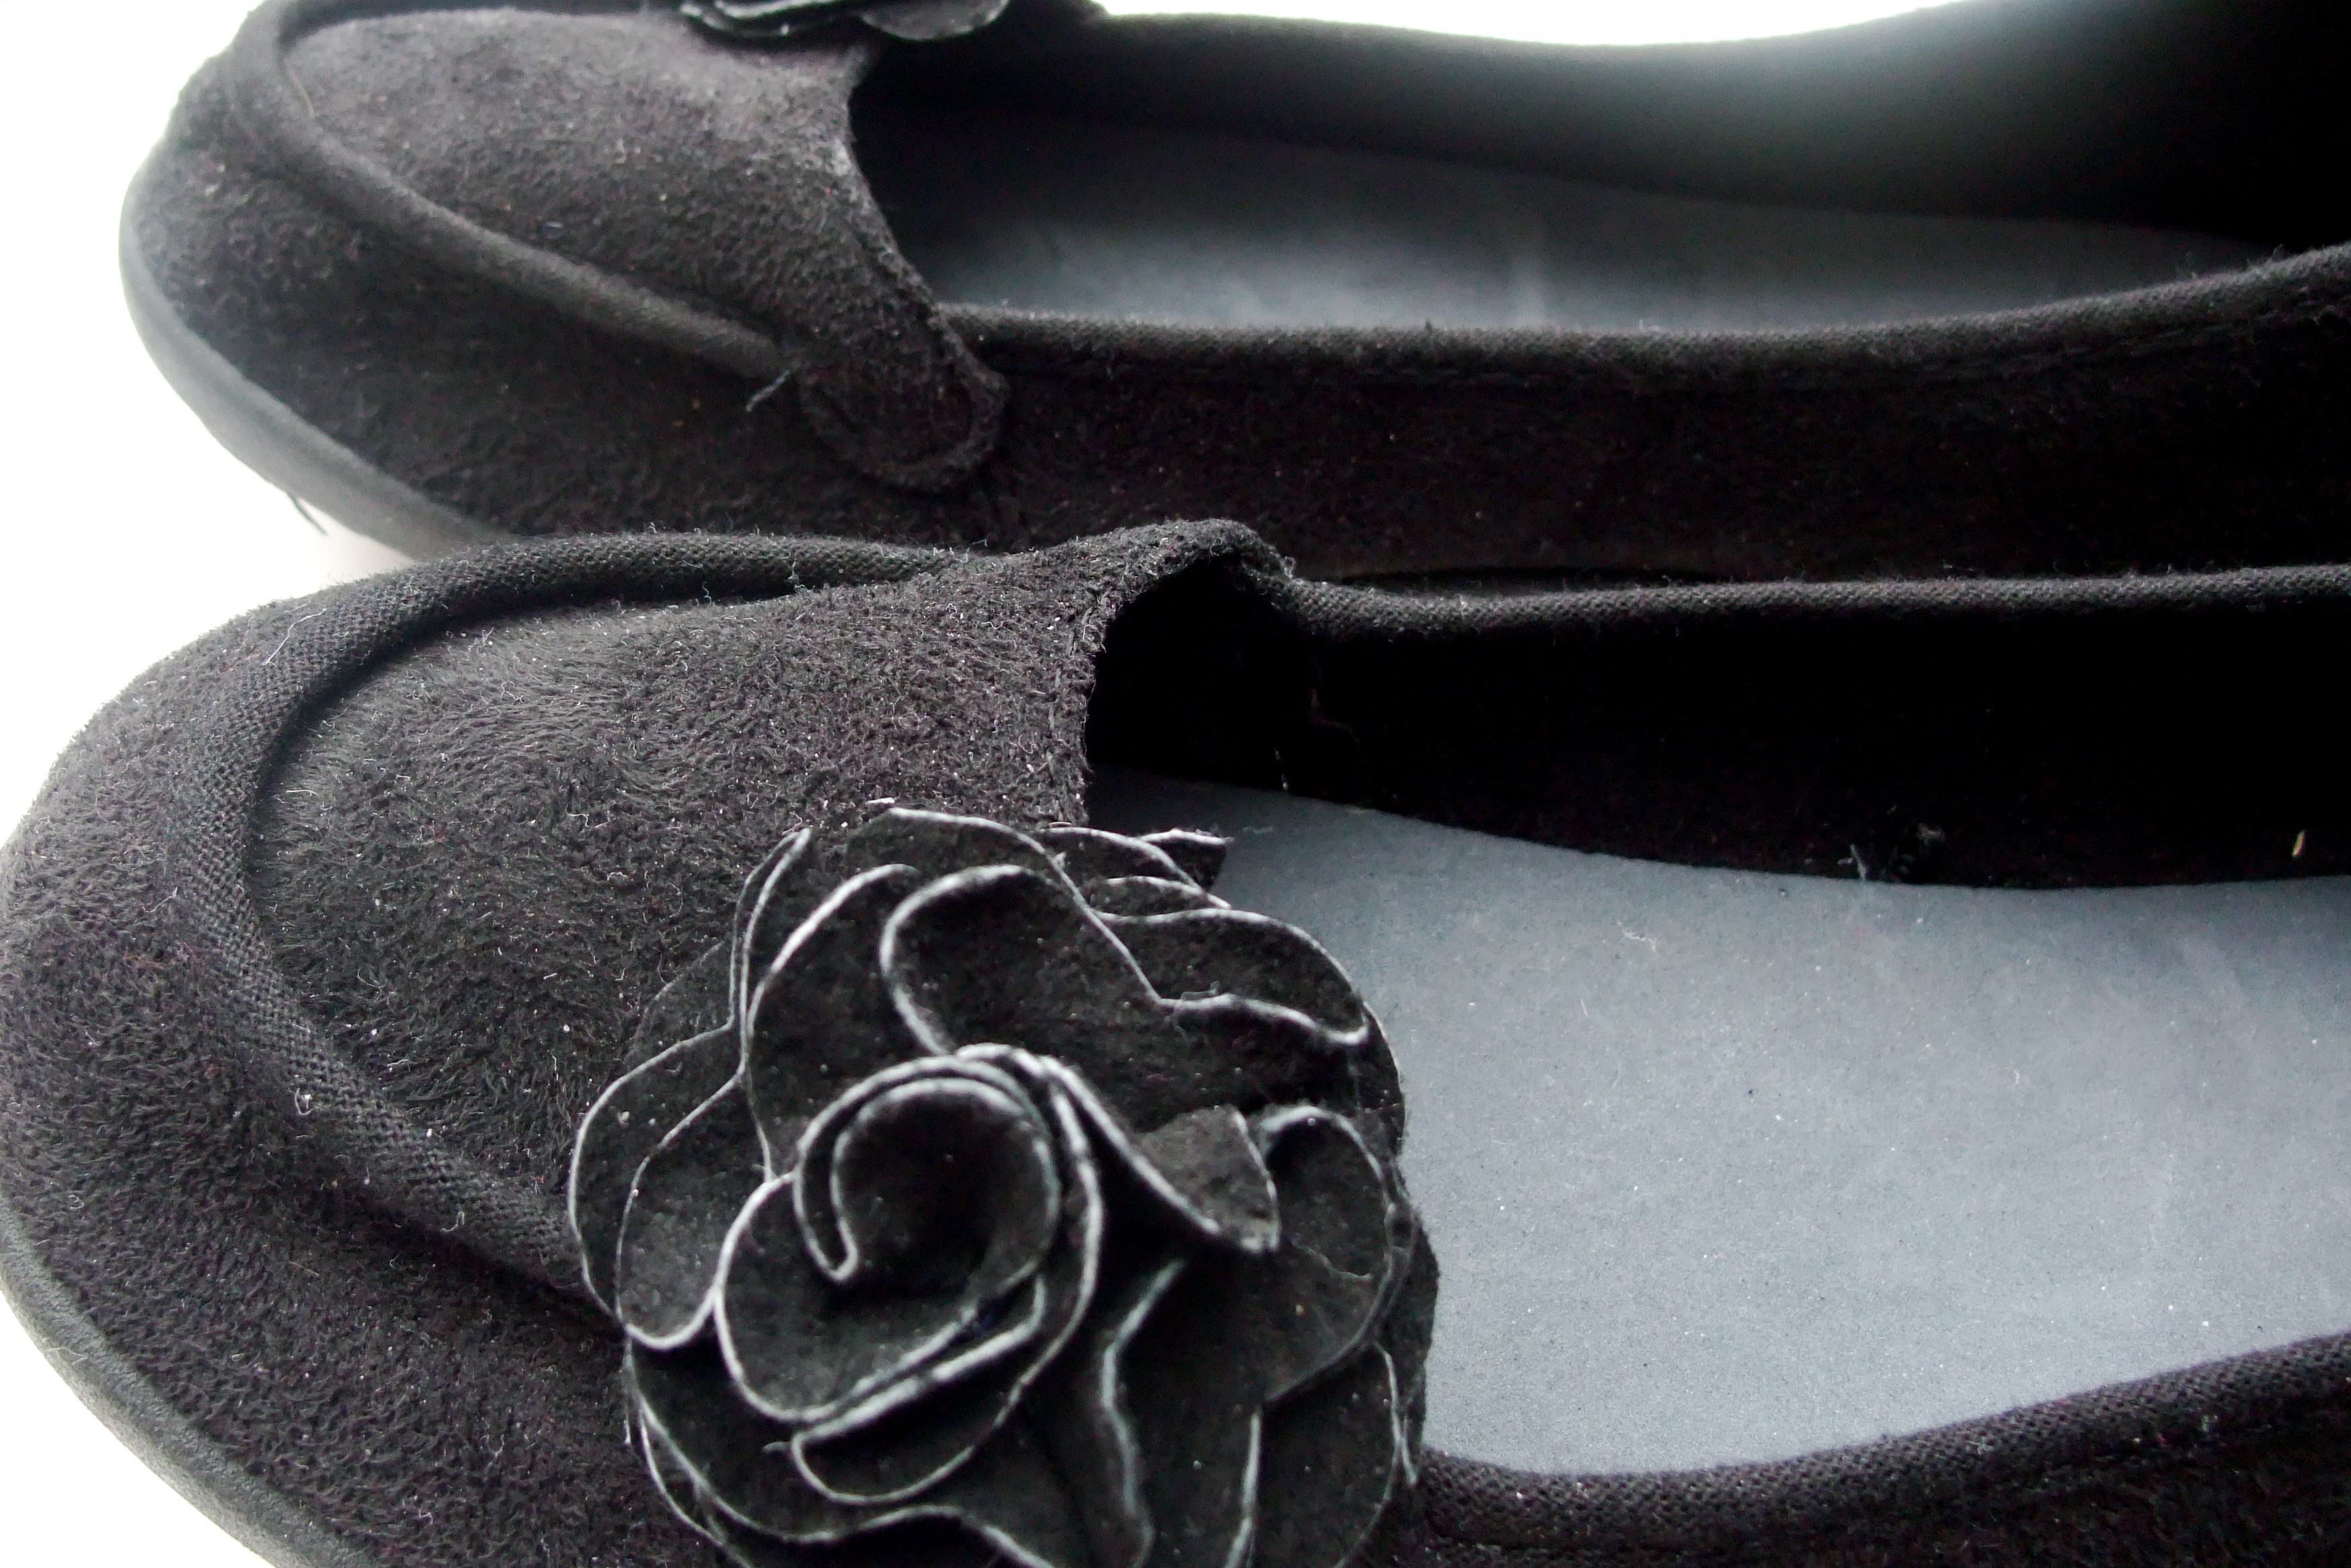
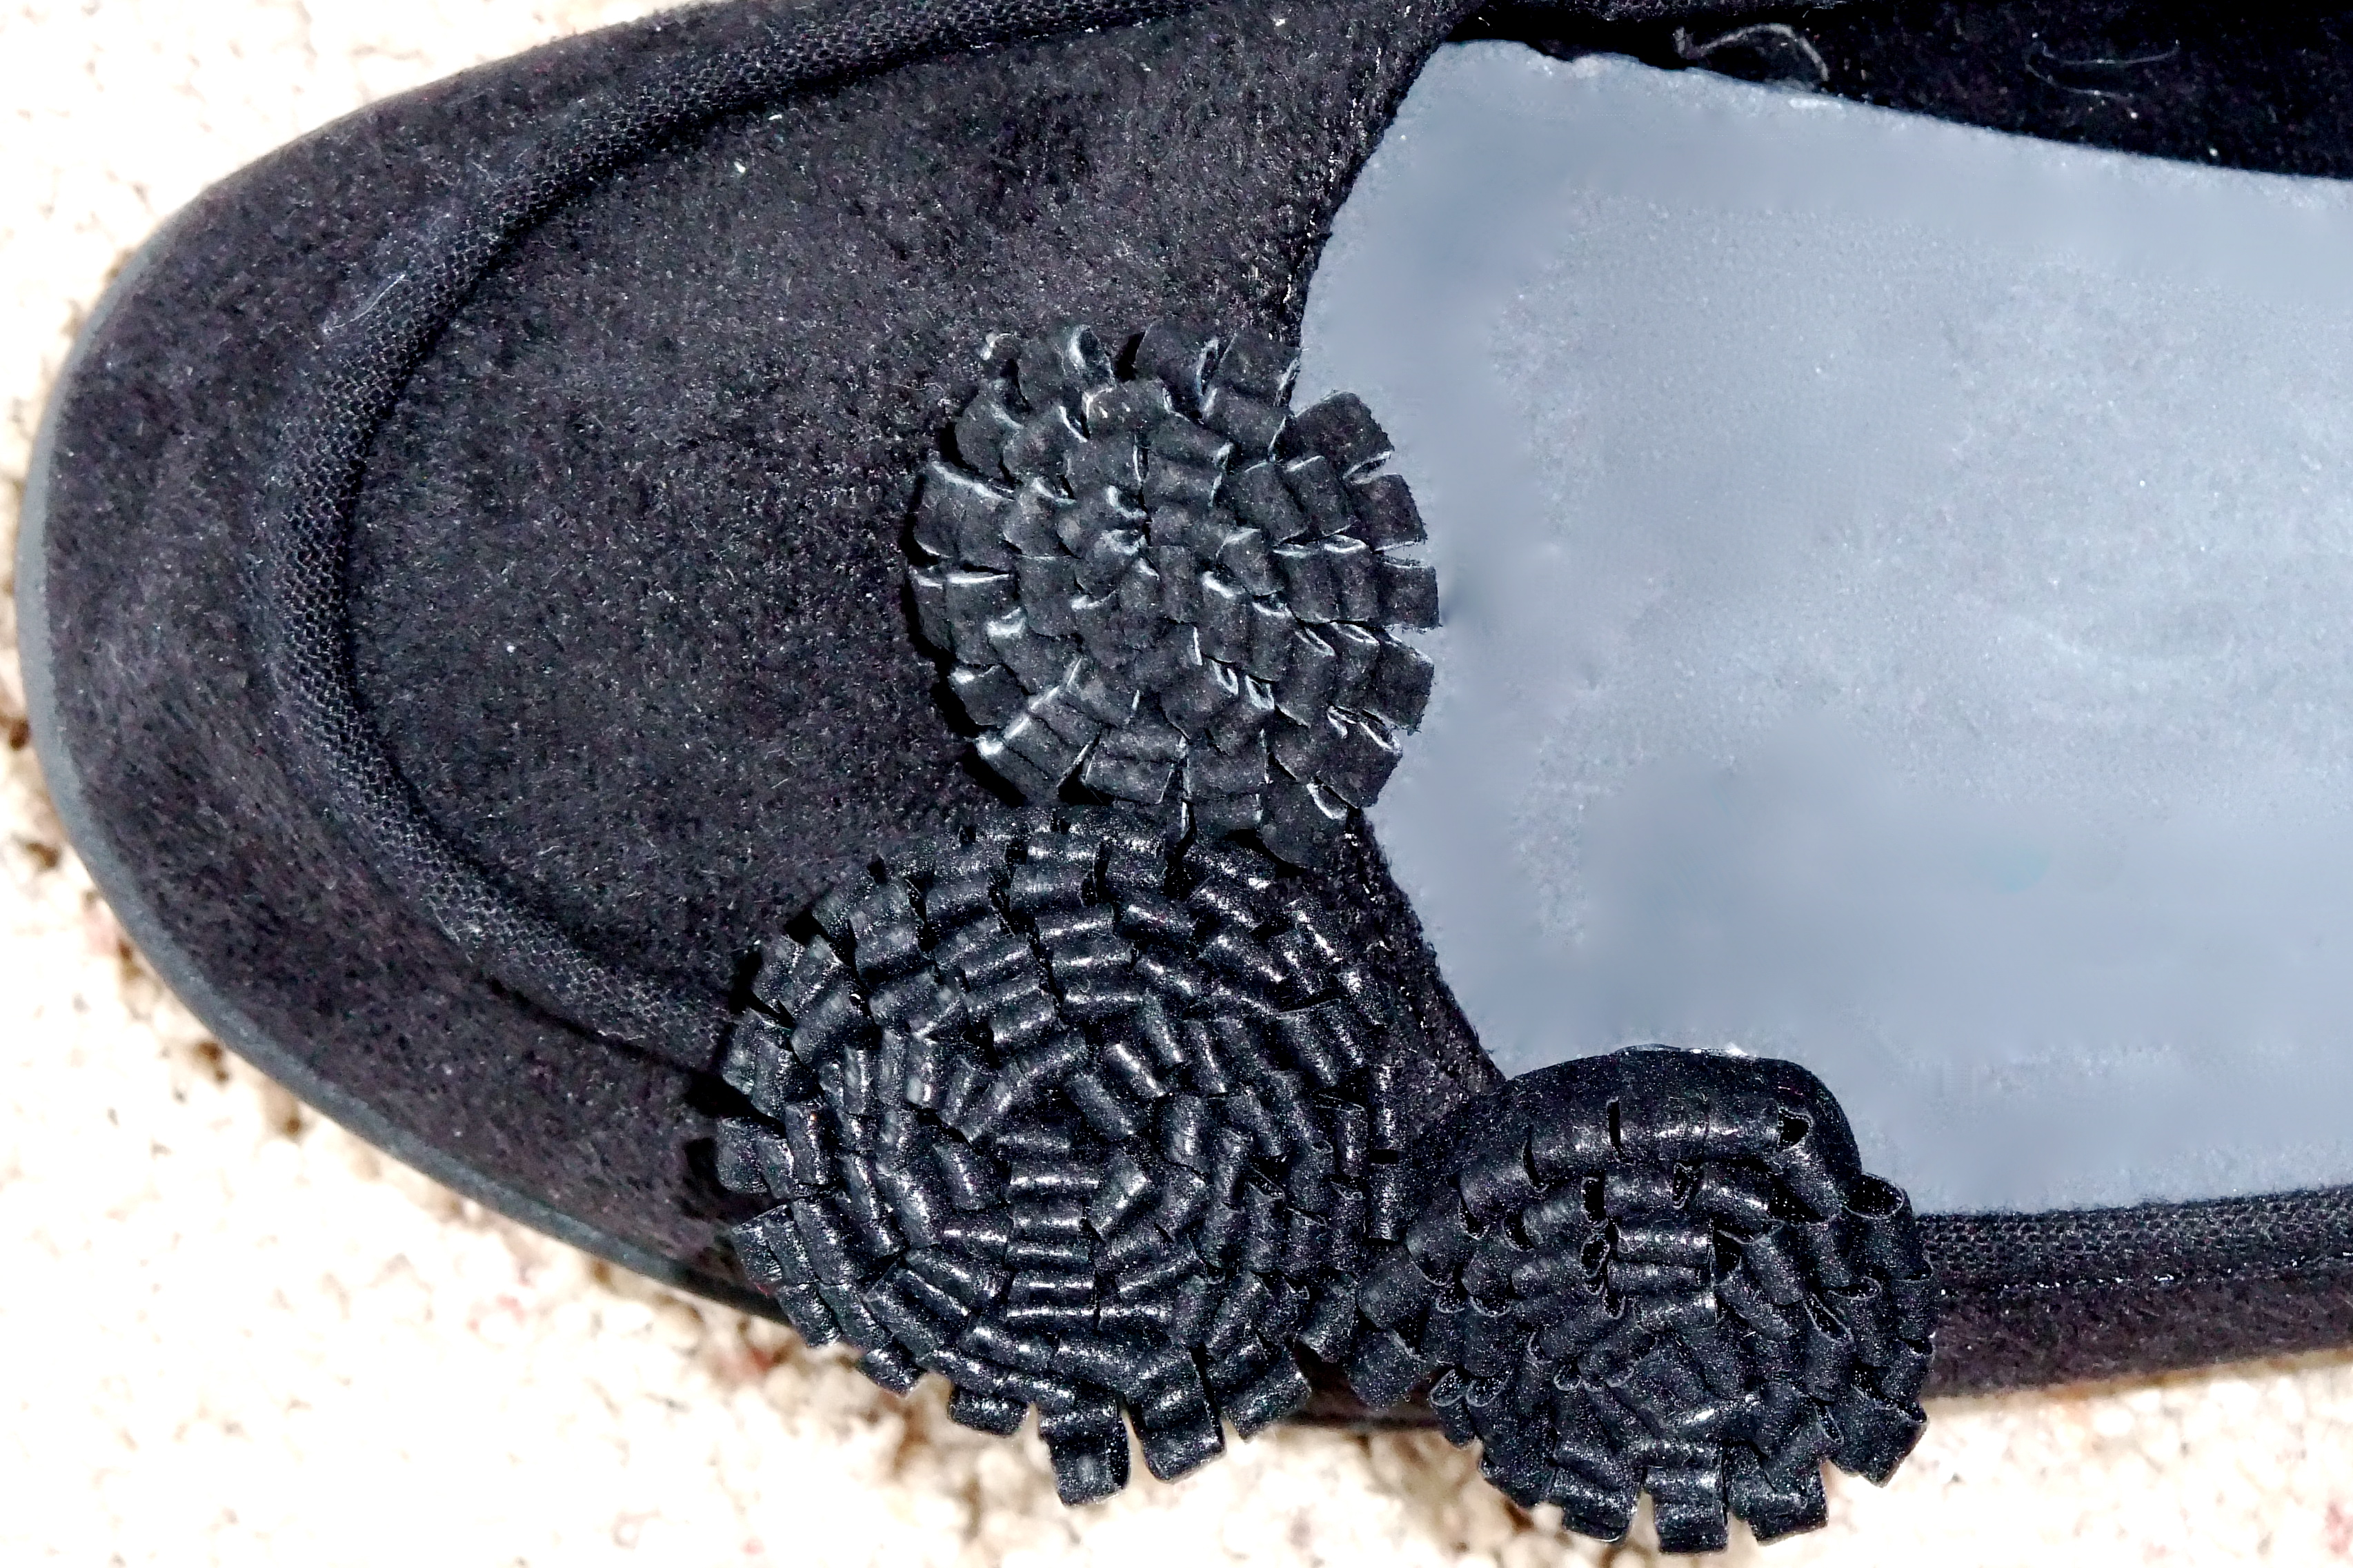
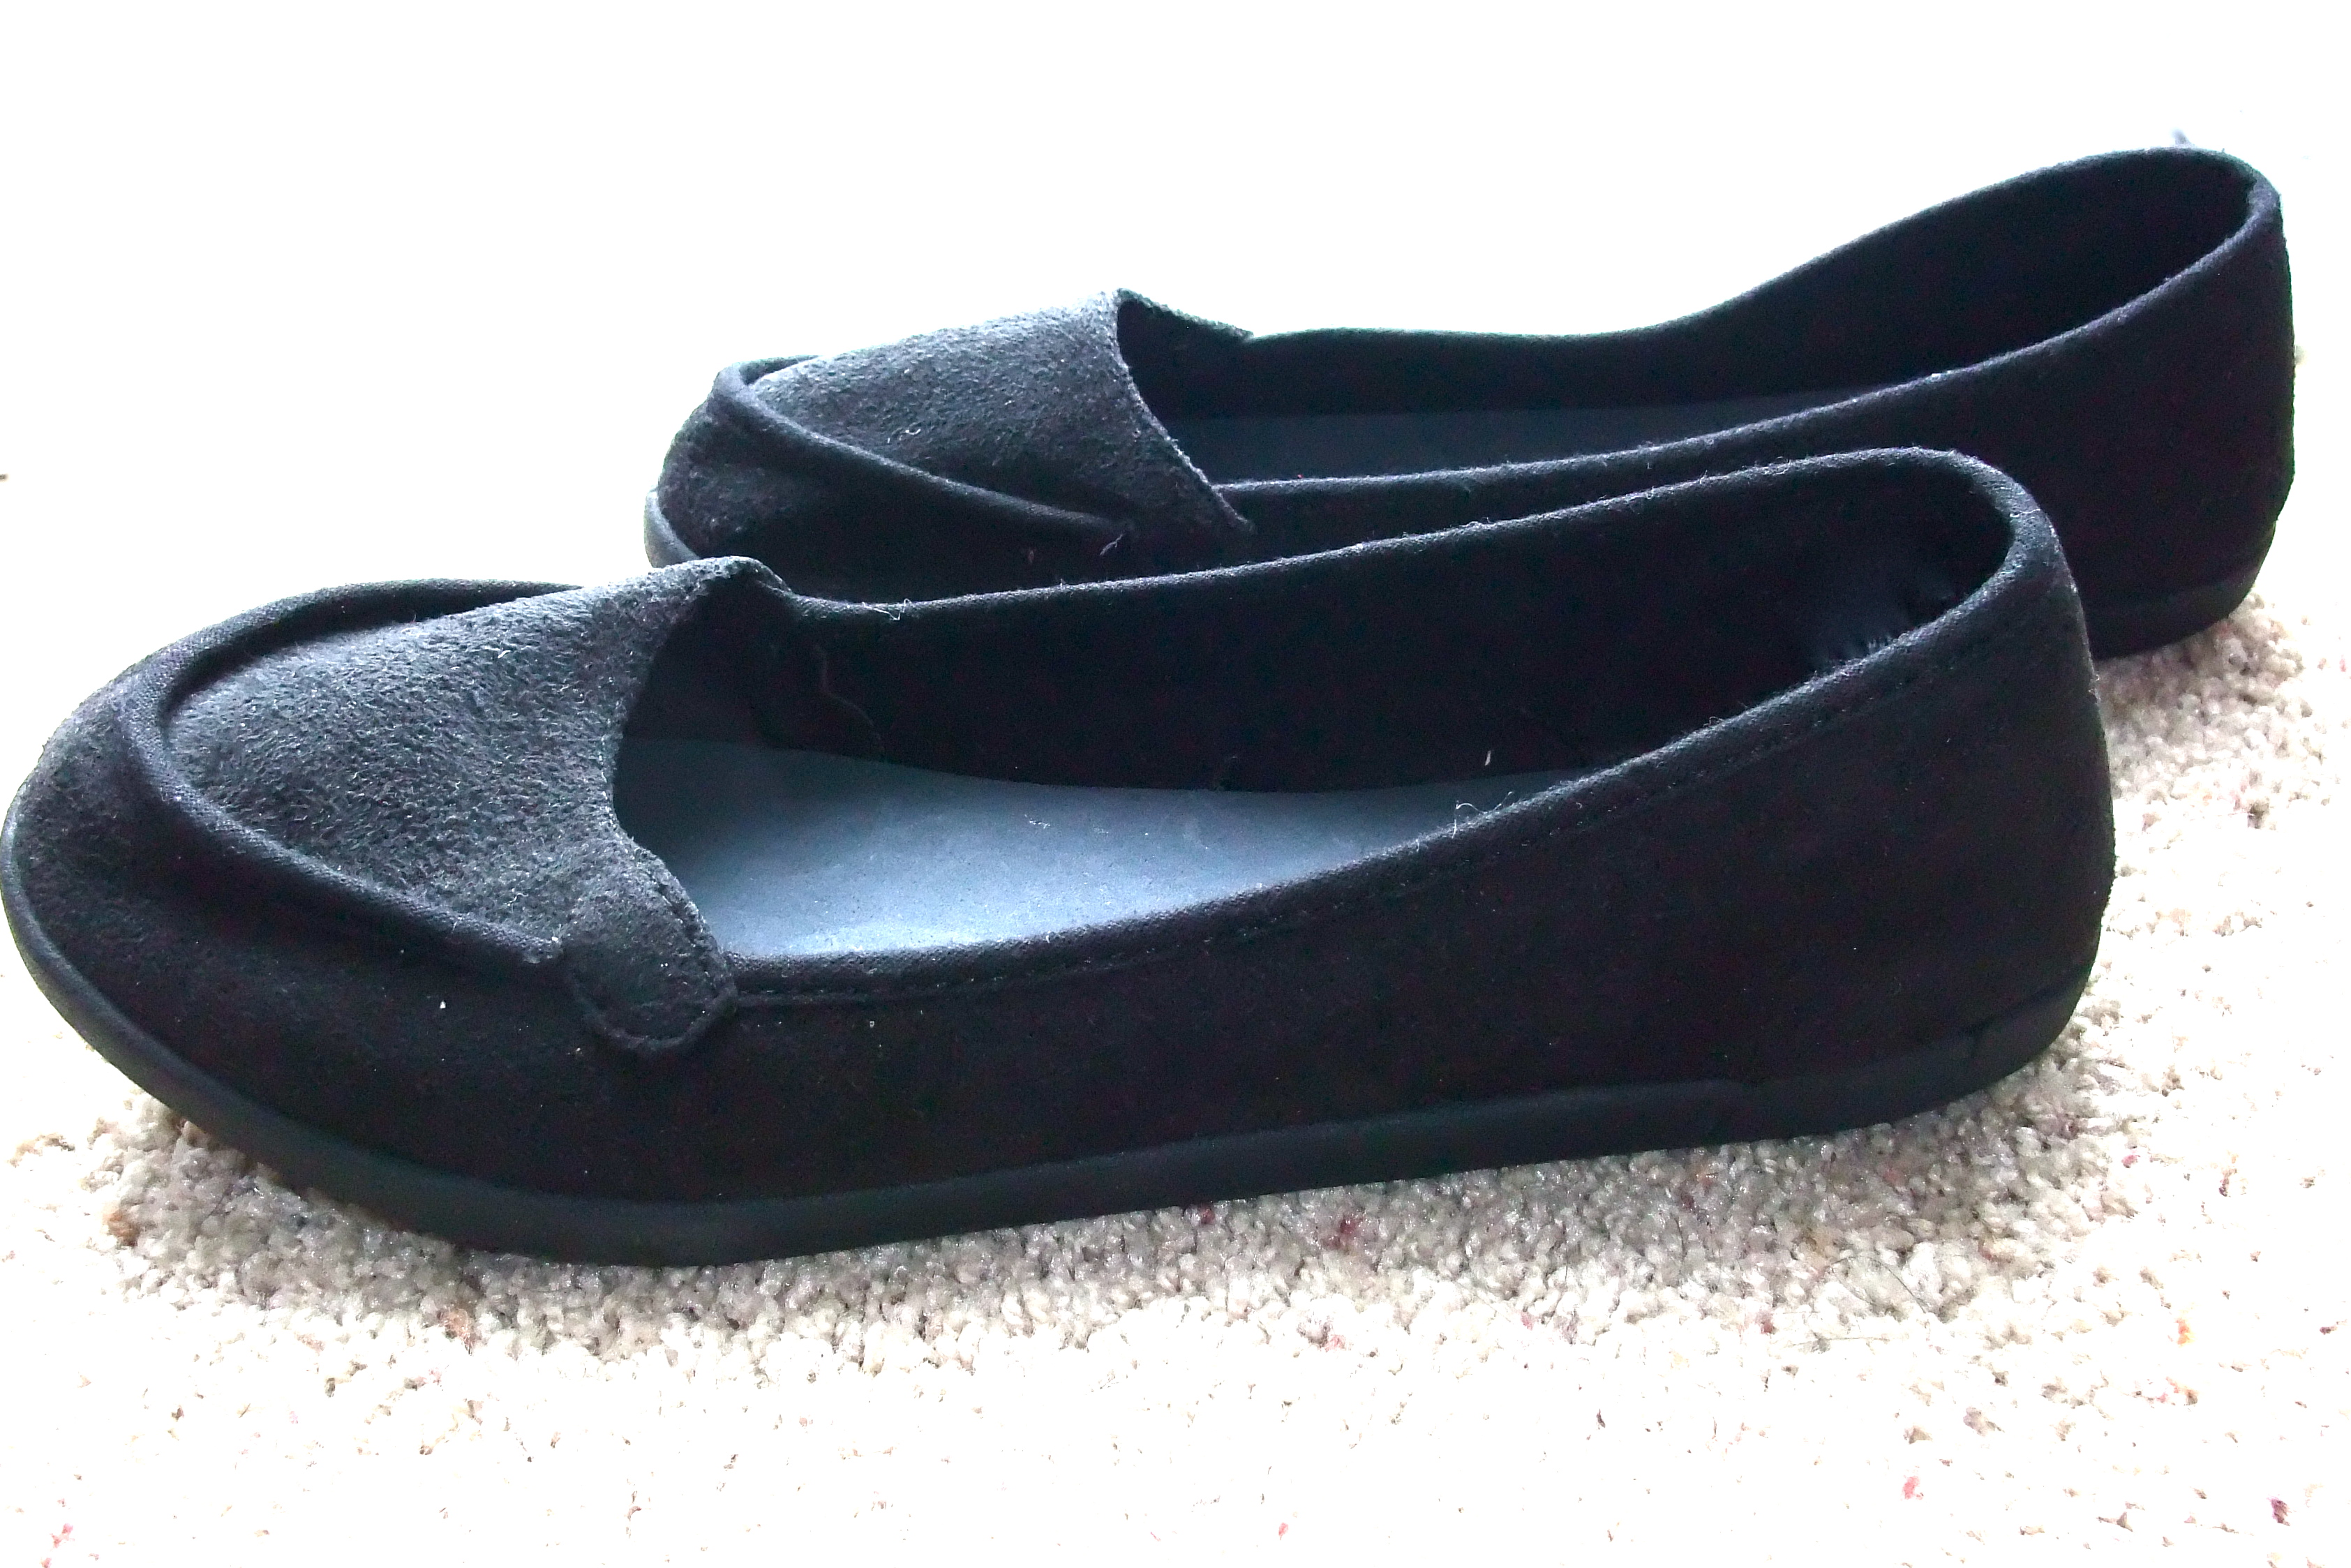
Along with the blessing of my daughter I was also “blessed” with bigger feet!  I don’t know if this has happened to anyone else but for me it has been a bit of a problem.  My shoe size changed from a 10 to a 10 1/2, which I cannot find at all!  So, I have been looking for 11’s which is also a challenge.  Now you might think that this is a great excuse to get a new wardrobe for your feet but when you are on a tight budget it is not that easy.  So, I was on a mission to get some new cute shoes for under $15.00.  I found some plain black casual shoes at Wal-Mart for $9.97 and bought some supplies to spice them up for $3.00.
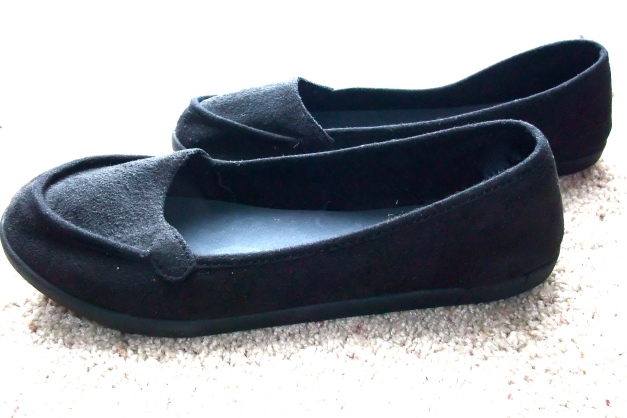
There are lots of great tutorials online to make fabric flowers you can use to refashion your shoes.  I used a tutorial from Emily’s Little World to make these flowers for my shoes.

Spiral flowers
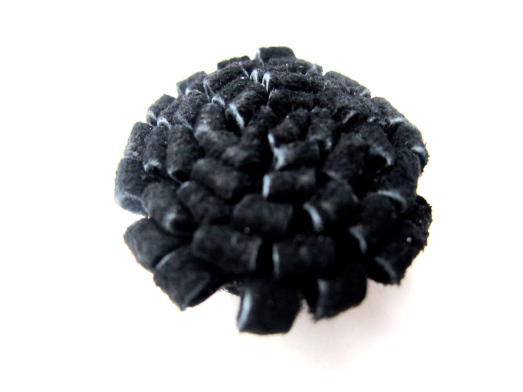
Supplies

  • Shoes
  • Coordinating fabric that doesn’t fray (For both of my flowers I used black leather I found from JoAnn’s, t-shirt/jersey knit fabric works well too.) If you choose a fabric that frays you might want to use a fray block first.
  • Hot glue gun and glue
  • Scissors
  • Felt in a coordinating color cut into a circle (about the size of a quarter for big flowers and a nickel for the small ones)
  • Thread and needle (optional)

Step One

To make the spiral flowers, cut one strip about 1 inch wide and whatever length you want.  I made my bigger flower using a strip about 16 inches long.  If your fabric isn’t that long, don’t worry!  You can use 2 or even 3 separate pieces and glue them together (I will explain how in step 4).  For my smaller flowers, I used strips about 8 inches long.

Step Two

Take your strip of fabric and fold it in half lengthwise.  Hot glue it together making sure to only glue the bottom ends together.  Don’t let the glue get on the top part near the fold!


Step Three

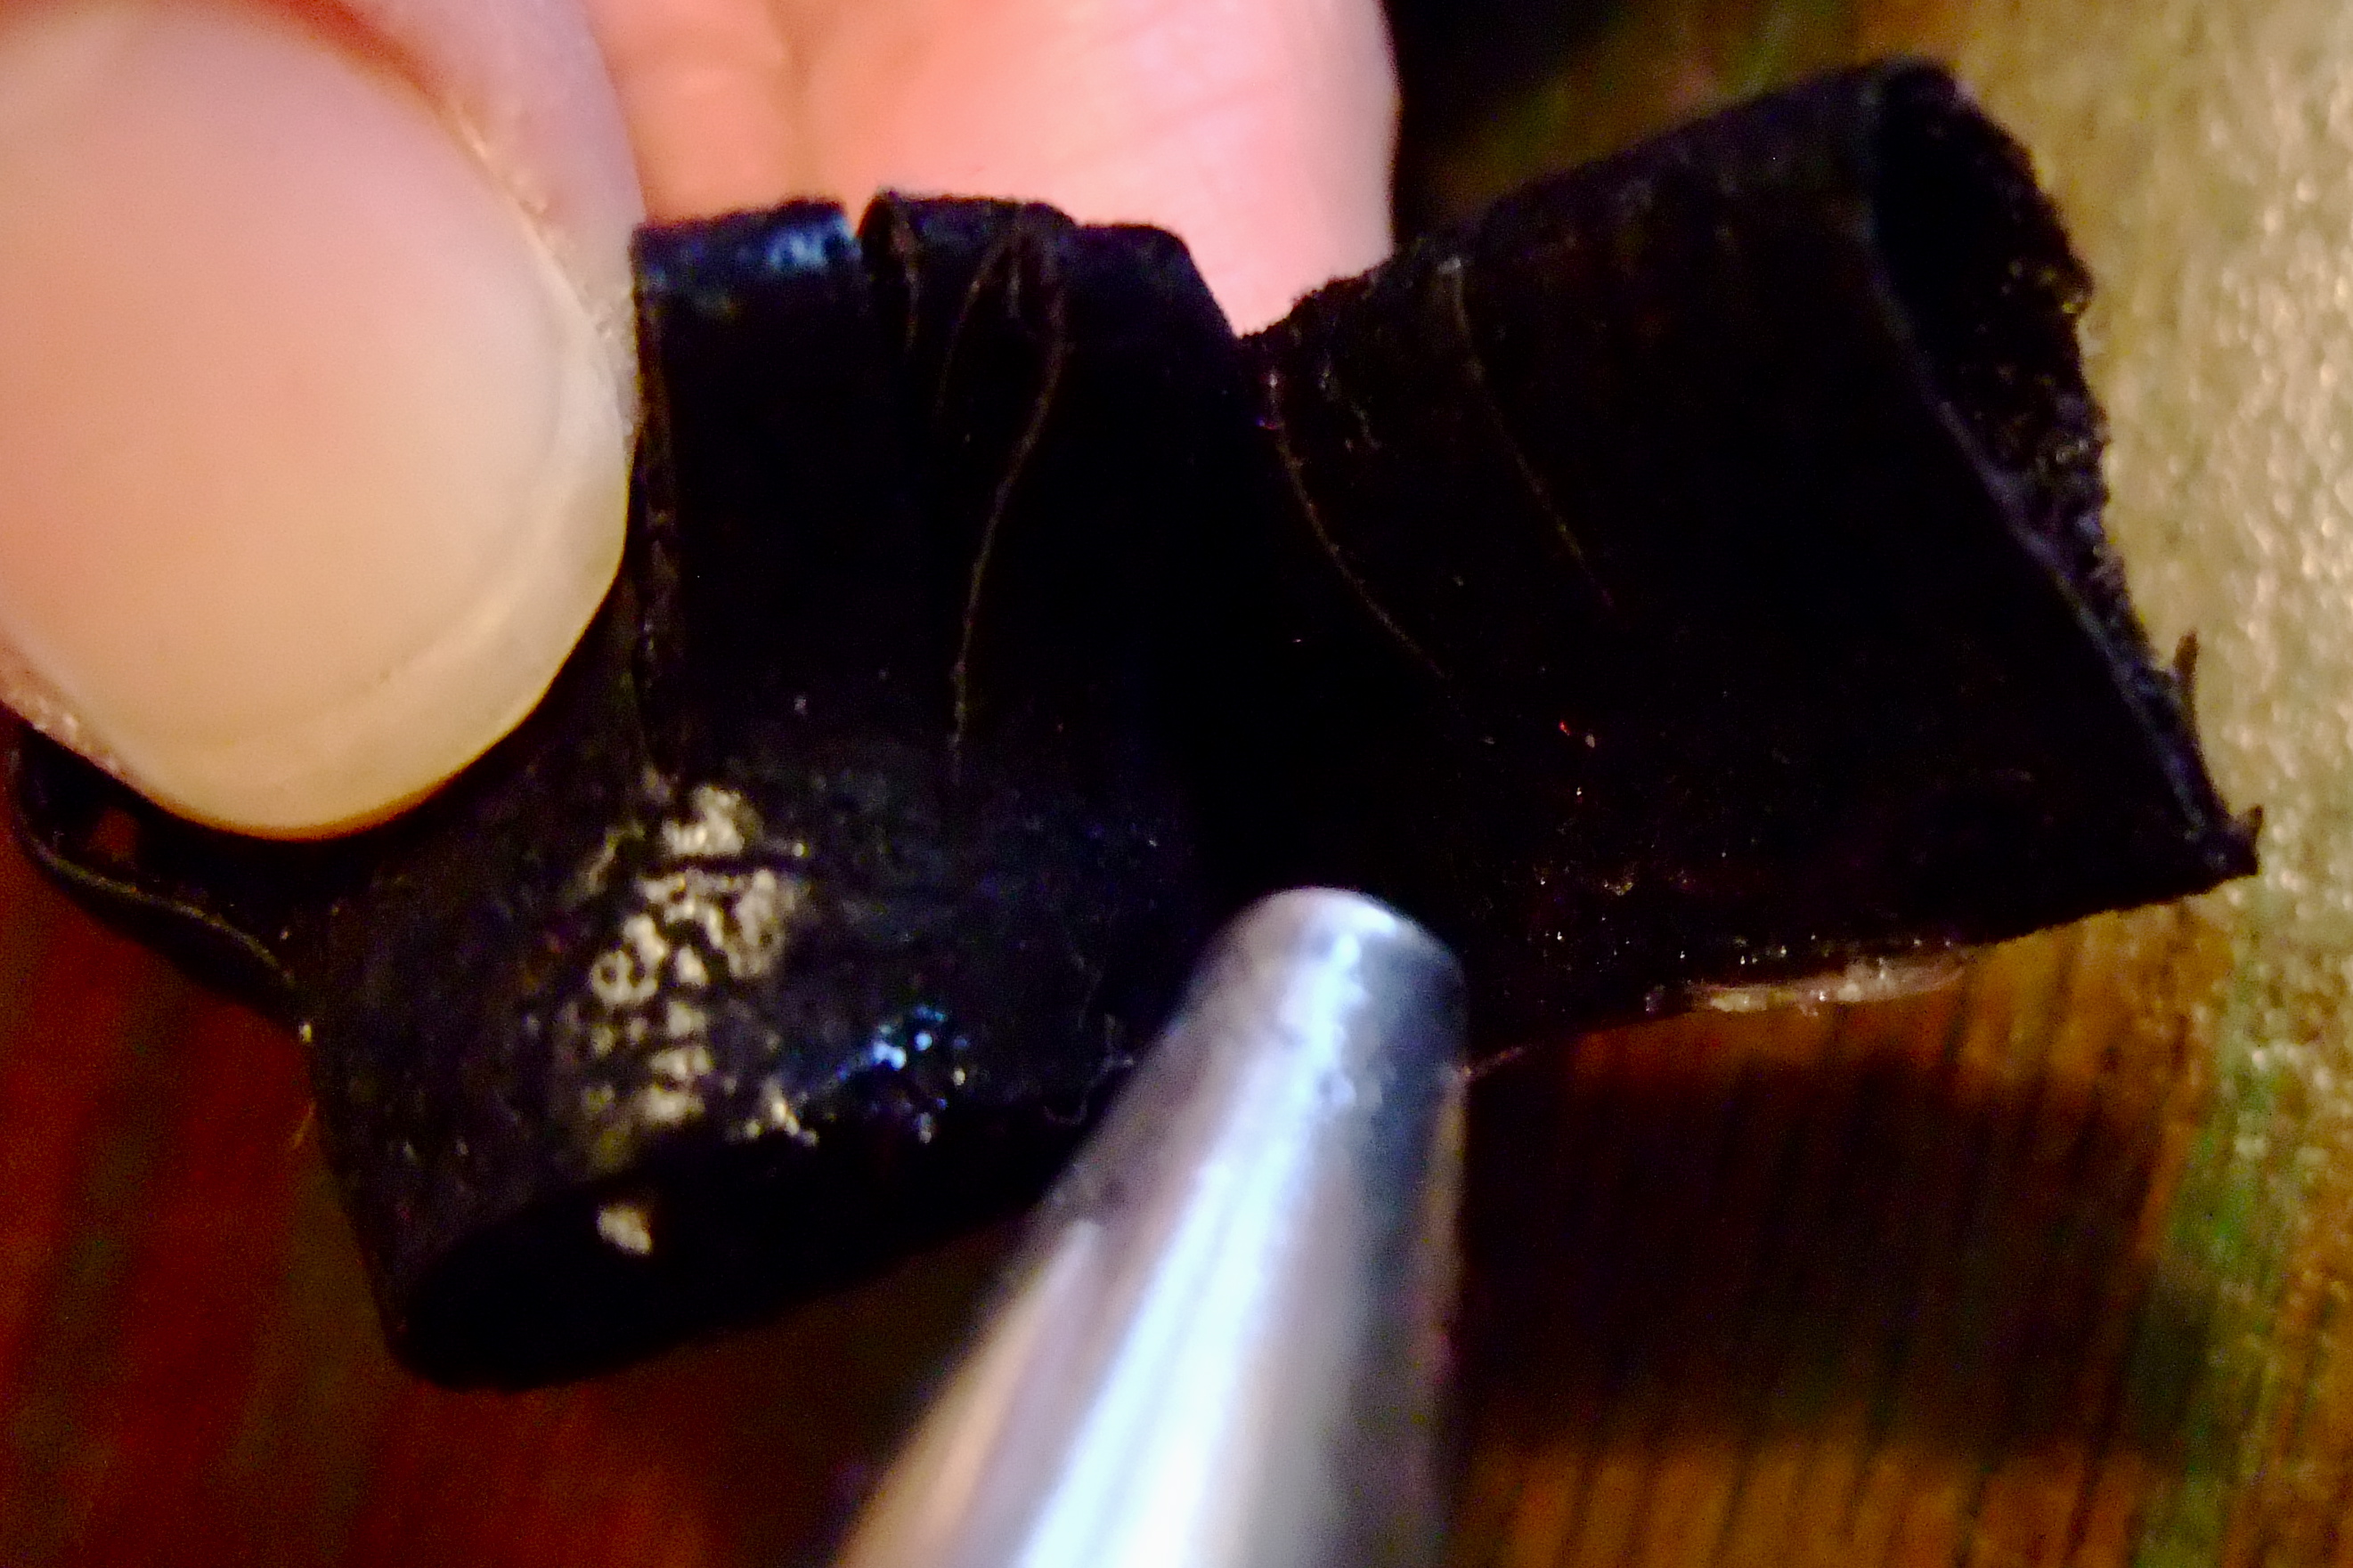
Cut little slits across the entire length of the now folded strip creating oblong loops.  Make sure you only cut about half way down the strip starting from the folded edge.  Your glued edge should not be cut.

Step Four

Once the whole strip has slits cut, starting at one end roll the strip somewhat tightly into a spiral.  Hot glue the last 1/4-1/2 of an inch into place.  If you think your flower isn’t as big as you would like, just take another strip that has already been cut and slit and match up one end with the end you just glued.  Roll the new strip around your flower and glue the end like you did the first strip.


Step Five

Load your flower up with hot glue on the underside and press on your felt circle to keep the flower nice and secure.
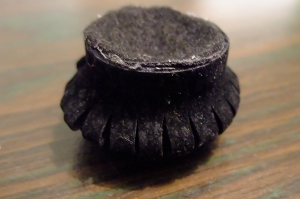
*Now you have your cute spiral flower.  At this point you could attach it to a clip for your hair or a pin to put on your bag or keep reading and I will tell you how I attached it to my shoes!

Step Six: Attaching your flowers

You can attach your flower in several different ways:

1.  If you want to detach the flowers at some point it might be good to hot glue your flower to a shoe clip using another circle of fabric to secure it to the clip.

2.  Another option is to hand sew the flower to your shoe.  This can be pretty tough (depending on the type of shoe you have) to get a needle through your shoe.  I would suggest using a thicker needle like an upholstery needle and a thicker, heavy-duty thread like a button and carpet thread.  **I use Button and Carpet thread for most of my crafts.

3.  Good old hot glue is also a great way to keep those flowers in place.  Make sure you use a good amount of glue to attach the felt on the bottom of the flower to your shoe.

I decided I didn’t want my flowers going anywhere so I sewed a couple of stitches and then finished using the hot glue.  That’s it!

Now go and spice up those boring old shoes!

Cake Cookies

I don’t even remember where or when we got this Chocolate Chip Cookie recipe but we have been known for it for years.  It is so simple and yummy.  Now the girls might argue which cake mix to use, but I only use Betty Crocker.

Cake Cookies:

1 box of Betty Crocker Yellow cake mix (do not follow the box instructions)

2 eggs

½ cup oil

½ a bag of chocolate chips

Stir all the ingredients together.  Scoop them into small balls, about 1”.  I used my small Pampered Chef scooper, I love this thing:


Bake 1 sheet full for 8 minutes or 2 sheets for 10 minutes

You can also use a chocolate cake mix and peanut butter chips, yum!  (I’d bake these for 9 and 11 minutes.)

The only down side is that they don’t stay soft very long, maybe 2 days, so eat fast!

-Piper

Organizing Card Games

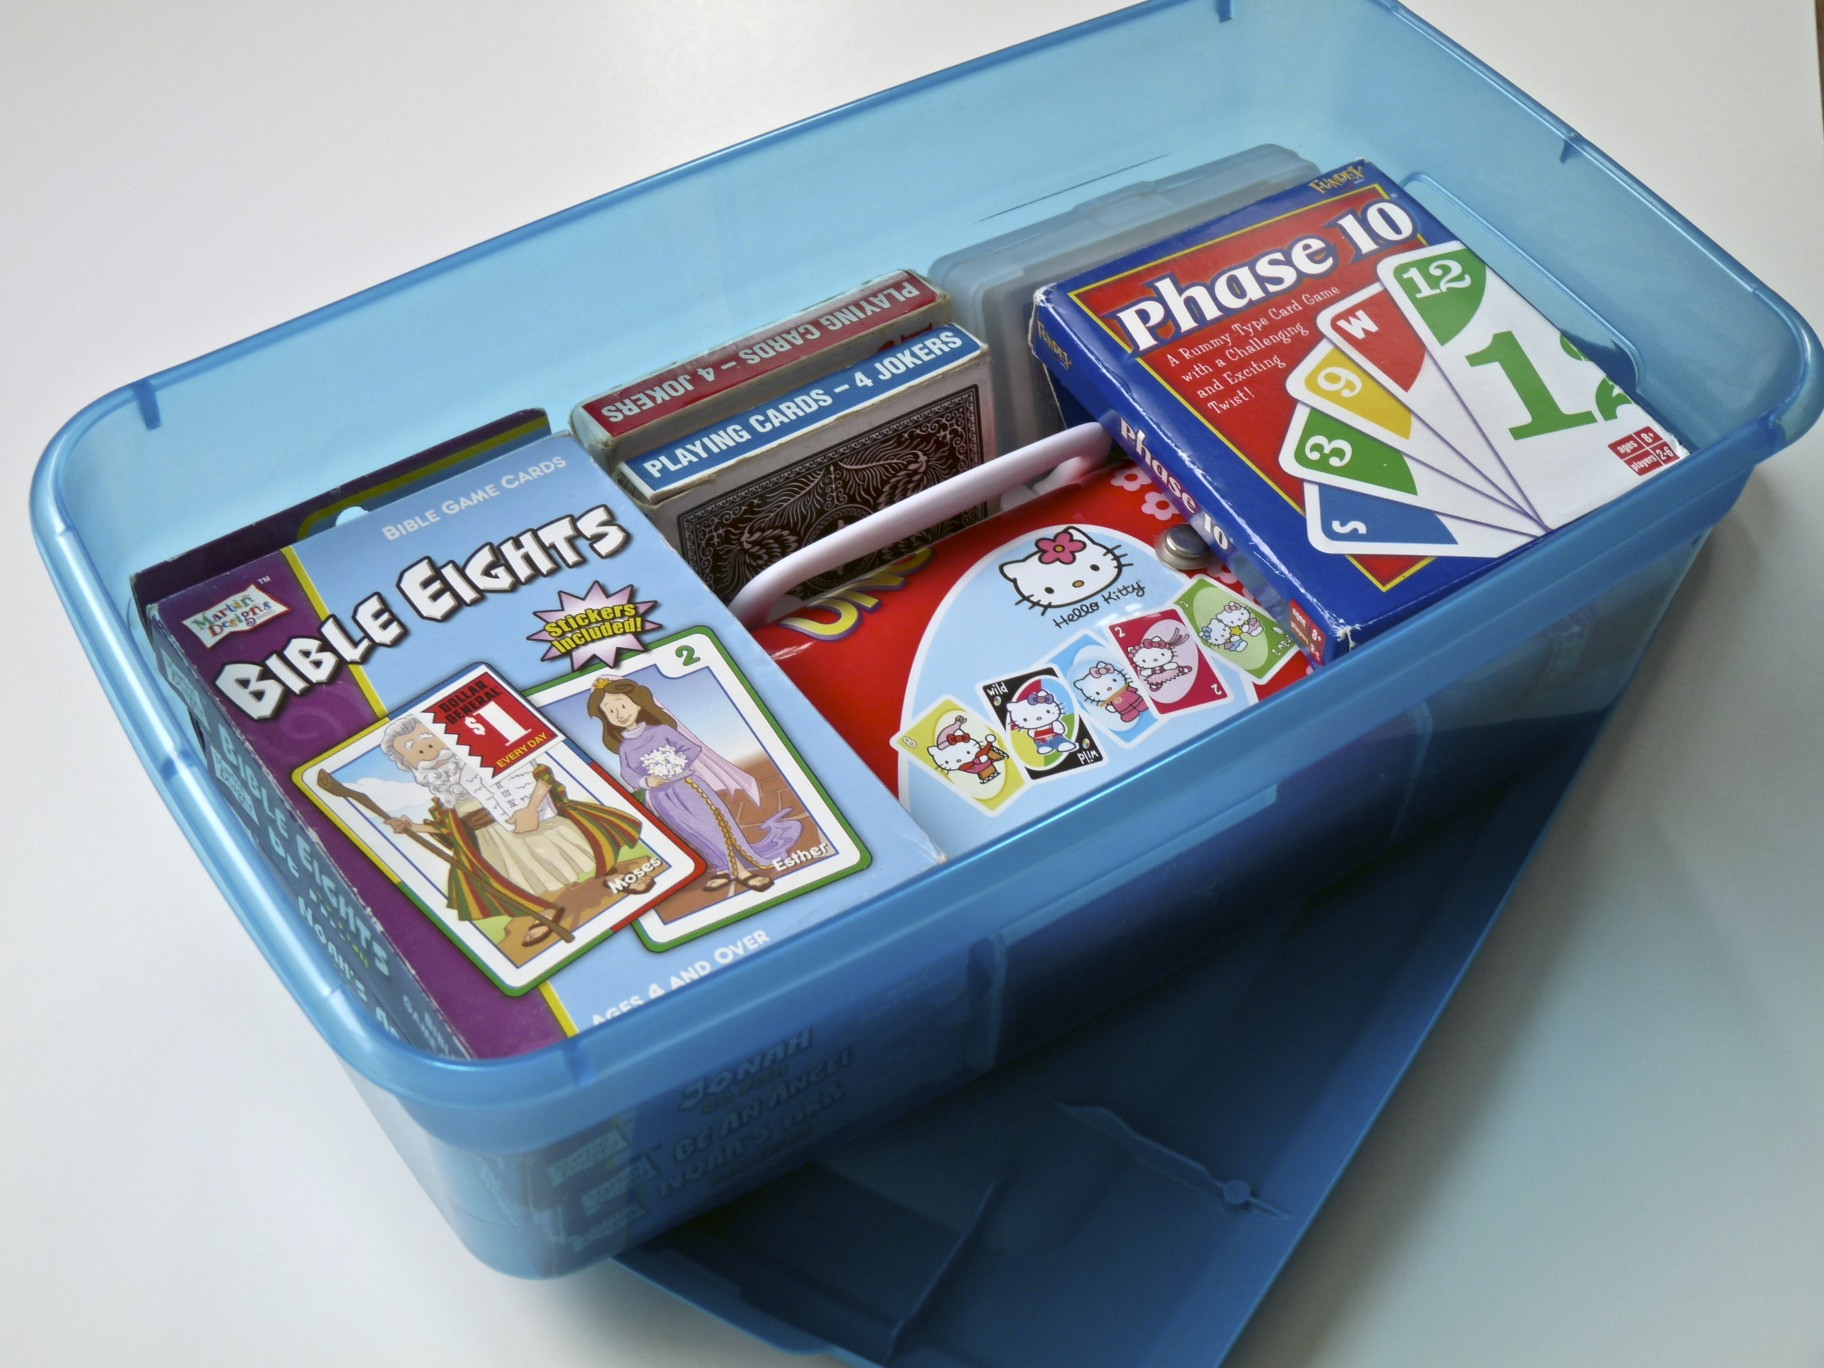
My family loves games, but my husband’s family really loves playing games.  Every time we get together we play games.  Board games or card games, it doesn’t matter, as long as we are together and having fun!  I learned this little organizing tip from my mother-in-law.  She keeps all of her card games in a small plastic storage tub!  Brilliant!  Its perfect, whenever we want to play a game we know right where they are, all the cards are in their boxes (no need for counting), she even keeps paper and pens/pencils in the box for keeping score.  She brings the game box to relatives’ houses, camping trips, and anywhere we might want to play a game.  So after all of these years I finally started my own game box.

Mine is still a work in progress, but you get the idea!  I like everything to have a place, and now even our cards do!

*By the way I love plastic storage containers, all sizes, especially the big ones.  I even ask for them for Christmas!  They have so many uses.  I store seasonal decorations, out of season clothes, old toys that we still want to keep, books, and so much more.  I love it because I can label each box, things are in there place, and the items in the box are protected from water, dust, and bugs.  They are a great way to get organized!

– Kiley