Parchment Paper

Parchment Paper…not just for baking.

I do a lot of things with Hot Glue because I love how it sticks to almost everything.  Well, one time I needed something that hot glue would not stick to.  I tried wax paper but the hot glue melted the wax and stuck right to the wax paper.  Then I tried parchment paper and that was the answer!!  You can draw with the hot glue right on the parchment paper and it will peel right off.  Now I keep a piece of parchment paper with my hot glue gun. I use it to catch the glue drips or if my gun falls over, I don’t have to worry about it sticking to anything.

Reuse Old Candles

I light candles all the time.  They smell great and I think they help warm our drafty house.  When the wicks burn out and there is still a lot of wax left in the jar I hate to throw the candles away.  So I usually use those candles for my candle warmer, they still smell great but I don’t get the extra heat.  Then I got the idea to put a new wick in my old candles.  Its a pretty simple idea, I know, I just love the fact that I get more use out of my candles.  Heres what I did:

Get an old candle (one with the wick burnt out).  Remove the old wick and silver base it is attached to.  If you cannot remove the wick and base wait until the candle is somewhat melted, it will be much easier to remove.

This candle is so full of wax because I would use this candle on my candle warmer and add wax from other candles to it.  I would take candles that sit on a candle plate and when their wick burnt out I would add it to my candle warmer candle.  If you do this make sure you take the sticker off the bottom of the candle and any remaining wick out of the candle.  Also try to use similar smelling candles.

Melt the candle on a candle warmer until the center of the candle is melted all the way through to the bottom.

Buy a candle wick at a craft store.  I got mine at Hobby Lobby but I’m sure you can purchase it at any craft store.  Take the wick and stick it into the melted candle.  I did not use another metal base to attach the wick to.  I didn’t have one and I figured just sticking the wick in would be fine.  Try to get the wick to reach the bottom of the jar.  Use a pencil or pen to wrap the wick around and balance the pencil/pen on top of the jar.  Try to place the pencil/pen so that the wick is in the center of the candle.

Let the candle cool.  When the candle has completely harden take a wick cutter or scissors and cut the wick to 1/4″.  Then light your candle and enjoy an extra use of your old candles!

Shoe Refashion: Two ways to refashion your shoes

Along with the blessing of my daughter I was also “blessed” with bigger feet!  I don’t know if this has happened to anyone else but for me it has been a bit of a problem.  My shoe size changed from a 10 to a 10 1/2, which I cannot find at all!  So, I have been looking for 11’s which is also a challenge.  Now you might think that this is a great excuse to get a new wardrobe for your feet but when you are on a tight budget it is not that easy.  So, I was on a mission to get some new cute shoes for under $15.00.  I found some plain black casual shoes at Wal-Mart for $9.97 and bought some supplies to spice them up for $3.00.

There are lots of great tutorials online to make fabric flowers you can use to refashion your shoes.  I used a tutorial from Emily’s Little World to make these flowers for my shoes.

Spiral flowers

Supplies

  • Shoes
  • Coordinating fabric that doesn’t fray (For both of my flowers I used black leather I found from JoAnn’s, t-shirt/jersey knit fabric works well too.) If you choose a fabric that frays you might want to use a fray block first.
  • Hot glue gun and glue
  • Scissors
  • Felt in a coordinating color cut into a circle (about the size of a quarter for big flowers and a nickel for the small ones)
  • Thread and needle (optional)

Step One

To make the spiral flowers, cut one strip about 1 inch wide and whatever length you want.  I made my bigger flower using a strip about 16 inches long.  If your fabric isn’t that long, don’t worry!  You can use 2 or even 3 separate pieces and glue them together (I will explain how in step 4).  For my smaller flowers, I used strips about 8 inches long.

Step Two

Take your strip of fabric and fold it in half lengthwise.  Hot glue it together making sure to only glue the bottom ends together.  Don’t let the glue get on the top part near the fold!


Step Three

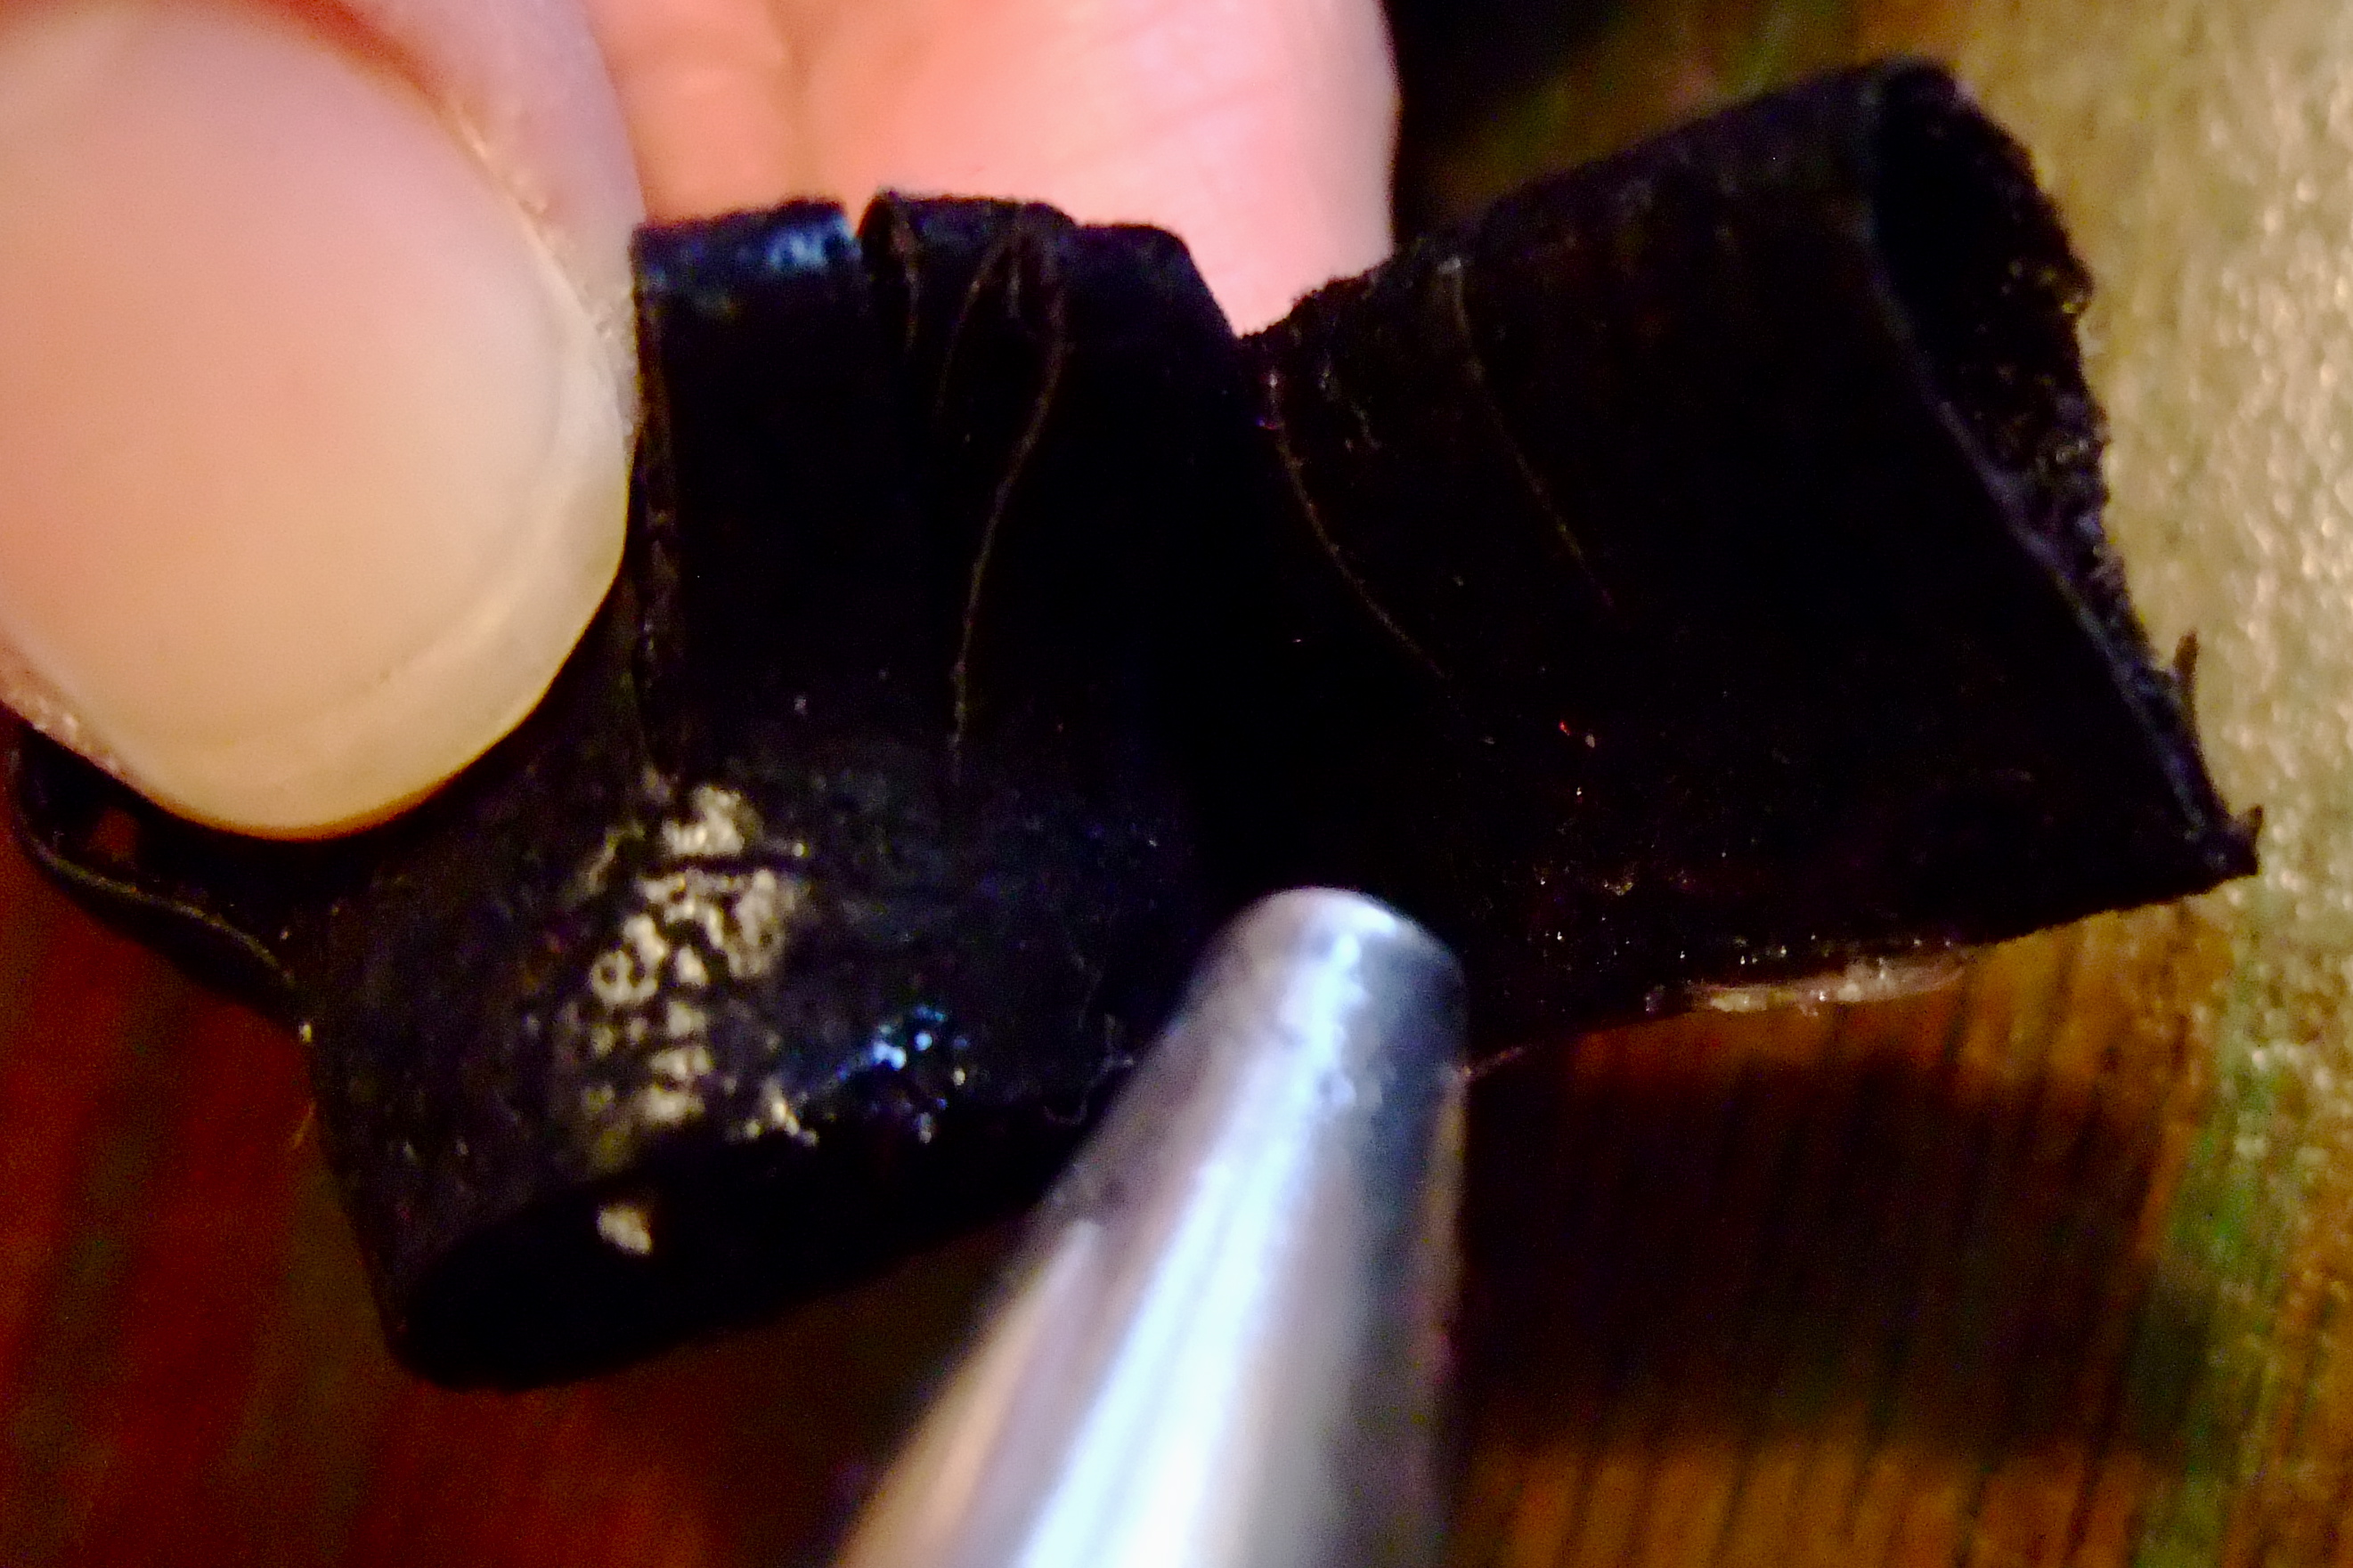
Cut little slits across the entire length of the now folded strip creating oblong loops.  Make sure you only cut about half way down the strip starting from the folded edge.  Your glued edge should not be cut.

Step Four

Once the whole strip has slits cut, starting at one end roll the strip somewhat tightly into a spiral.  Hot glue the last 1/4-1/2 of an inch into place.  If you think your flower isn’t as big as you would like, just take another strip that has already been cut and slit and match up one end with the end you just glued.  Roll the new strip around your flower and glue the end like you did the first strip.


Step Five

Load your flower up with hot glue on the underside and press on your felt circle to keep the flower nice and secure.

*Now you have your cute spiral flower.  At this point you could attach it to a clip for your hair or a pin to put on your bag or keep reading and I will tell you how I attached it to my shoes!

Step Six: Attaching your flowers

You can attach your flower in several different ways:

1.  If you want to detach the flowers at some point it might be good to hot glue your flower to a shoe clip using another circle of fabric to secure it to the clip.

2.  Another option is to hand sew the flower to your shoe.  This can be pretty tough (depending on the type of shoe you have) to get a needle through your shoe.  I would suggest using a thicker needle like an upholstery needle and a thicker, heavy-duty thread like a button and carpet thread.  **I use Button and Carpet thread for most of my crafts.

3.  Good old hot glue is also a great way to keep those flowers in place.  Make sure you use a good amount of glue to attach the felt on the bottom of the flower to your shoe.

I decided I didn’t want my flowers going anywhere so I sewed a couple of stitches and then finished using the hot glue.  That’s it!

Now go and spice up those boring old shoes!

Refashion Baby One-Piece Outfit

My little cutie is always outgrowing her one-piece outfits before she gets to wear them very much.  I don’t know if she is super long or if they just don’t make them very long.  But they usually end up either all “capri style” or I can’t even snap them at the bottom.  Both versions are not so cute!  So, I thought I would do a quick and easy fix and turn it into a shirt.  It is super easy sewing for a beginning sewer!

Here is the cute one-piece outfit my friend gave me after her little ones outgrew it.

Here is what I did:

I just held up the outfit to my daughter and marked it where I wanted the bottom of the shirt to be.  Be sure to allow an extra 3/4 to 1 inch for the hem.  Once you have your line marked cut the bottom part off (you can save it to make hair accessories or embellish the shirt with flowers or ruffles later). If you are using a jersey knit (like a t-shirt material) you could just stop there and keep the edges raw.  I wanted mine to look a little more finished so folded a hem and sewed up the bottom. That’s it!  Now you have a new cute shirt for your little cutie!

*I also decided to use a double needle to give it a more professional look that lays down nicely.  If you haven’t used a double needle you should try it for sewing jersey knits and other fabrics, you will really like the results! This site gives a great tutorial and tips for using the double needle, Make it and Love it!   Give it a try, you won’t be sorry!

Roman Shades

I decided that I wanted Roman shades in a couple of rooms in my house.  Well I wasn’t about to buy them, they can be so expensive, and you know how we like to save money.  So I got the brilliant idea to make Roman shades.  So I searched online to find the quickest and easiest way to make Roman shades, and I think I found it.  Little Green Notebook has a great DIY for making roman shades out of mini blinds.   It has easy to follow directions and there is no sewing involved!  If you want to make the Roman shades click on the Little Green Notebook link above.  I’m going to show you a couple of Roman shades that I made and give a few tips that I learned from making them.  Now remember this was my first time making the shades, so they aren’t perfect!

These were the first shades I made,  I’m not the best at measuring things or cutting things straight.  So my first tip would be have someone help you with measuring and cutting if your anything like me.  My wonderful husband helped my with the other shades!

For these shades I lined them with room darkening fabric.  I recommend using the room darkening fabric for rooms such as the bathroom or a bedroom.

Again I used the room darkening fabric for these shades as well.  As you can see, the Roman shades fit perfectly into a window, when measured and cut correctly, and look really cute!

On the Little Green Notebook site she suggests using fabric glue and not hot glue.  I used fabric glue and it did a great job, especially on the white shades I made (the first pictures).  Those shades rarely get used so there isn’t much wear and tear on them.  They other shades, however, are used daily.  They are pulled up in the morning and down at night, so needless to say, the glue isn’t holding up so well.   I know she says not to use hot glue but I needed a quick fix for the fabric that is not glued to the mini blinds anymore.  We’ll see how the hot glue holds up.  What I suggest doing is sewing the fabric to the mini blinds.  Just one vertical stitch on both sides of the shade where the fabric is folded over.  I did not do this to my shades and I wish I did.  My sister made some and she sewed the fabric the the mini blinds and they seem to be staying together just fine.  Now if you decide to sew your fabric to your mini blinds make sure you get the cheap plastic mini blinds and not the metals ones.  I got my mini blinds at Walmart, they can range anywhere from $5-$15 depending on the size of your window.  Also use a strong needle that will sew through the thin plastic.

If you use the room darkening fabric, you might want to sew it to your printed fabric, that way it will hold together better than gluing it.  Just make sure you leave the bottom open (meaning sew the left side, top, and right side) that way you won’t get an air bubble in between printed fabric and the room darkening fabric.  I didn’t do this so I have an air bubble in my shades and they don’t lay very smooth.

I think those are all of my tips I hope this is helpful!  Let us know if you tried making your own Roman shades!

-Kiley

Photo Cards how-to

My sister Tanna was telling me about a great idea to help babies/toddlers recognize family members, animals, objects whatever you would like.  They are kind of like flash cards but with photographs and they can stick to the refrigerator.  I thought it would be a great way for my little one to become familiar with her family members.  I call them photo cards but you can call them what you like.  I made one for each person in our family (grandparents, aunts, uncles, etc.).  You can make them for anything you would like your child to recognize and become familiar with as long as you have a picture of it.  The great thing about this is that you can use things you already have at home!  Heres how I did it:

Materials:

Photos (magazines, newspaper, whatever photos you want your child to recognize)

Old photo album (I cut the individual pictures sleeves out of an old photo album)

Cardboard

Scissors

Paper

Marker/pen

Doubled sided tape

Magnetic Tape (the magnet strips that are sticky on one side, I got mine at Untied Art & Education, but I’m sure you can get them almost anywhere)

Clear packaging tape (optional)

Once you have all of your materials together you can start.  I took the photo sleeves out of an old photo album and cut them so were individual  photo pockets.  Put your picture in one side of the photo pocket.

Take your cardboard and cut it little smaller than the size of your picture.  My picture is a 4×6 so I cut my cardboard to 3 3/4x 5 3/4.  Once your cardboard is cut you can put it into the other side of the photo pocket.

Now take you magnetic tape and cut 2 two-inch pieces.  Stick the magnetic tape on the cardboard side of the photo pocket.

Now your photo card is complete.  There are some optional things you may want to add to your photo cards.  I decided to write the name of the picture so little ones could see the word and become familiar with it.  For this picture I wrote Flowers on paper in marker and cut it out.  Then I used my doubled sided tape and stuck one side of the tape on top of the word Flowers.  Now the other sticky side of the tape can be stuck on the inside of the photo pocket in front of the picture!

The other thing I did was I used clear packaging tape to seal the open side of the photo pocket.  I wanted to make sure the picture and cardboard wouldn’t be taken out by little hands!

Then you can stick it to your refrigerator and the little ones can pull them off and put them on all the while learning and familiarizing themselves with family members, objects, animals, etc.

So there it is a photo card how-to.  I hope it makes sense and is helpful to you!  Happy making!

-Kiley

Welcome!

Welcome to the merrellgirls blog!  We are 4 sisters who are excited to share with you our talents in sewing, cooking, art, photography, and crafts.  We have learned many helpful hints from each other, friends, the internet, and our own experiences that have made our lives a little easier.   This is our first attempt at entering the blogging world and none of us are really that computer savvy, so this should be fun!  If you are interested please take some time to learn a little bit more about each sister by clicking on the About tab.  Thanks for checking us out!

– merrellgirls